Mount Baker Easton Glacier
July 15, 2020
Table of Contents
I have gotten to a point where I really wanted spend time in the mountains to focus on basic mountaineering skills. I wanted to get more comfortable with leading a party on bigger missions. This meant I needed to learn more about trip planning, proper glacier travel, crevasse rescue and efficient communication within a team.
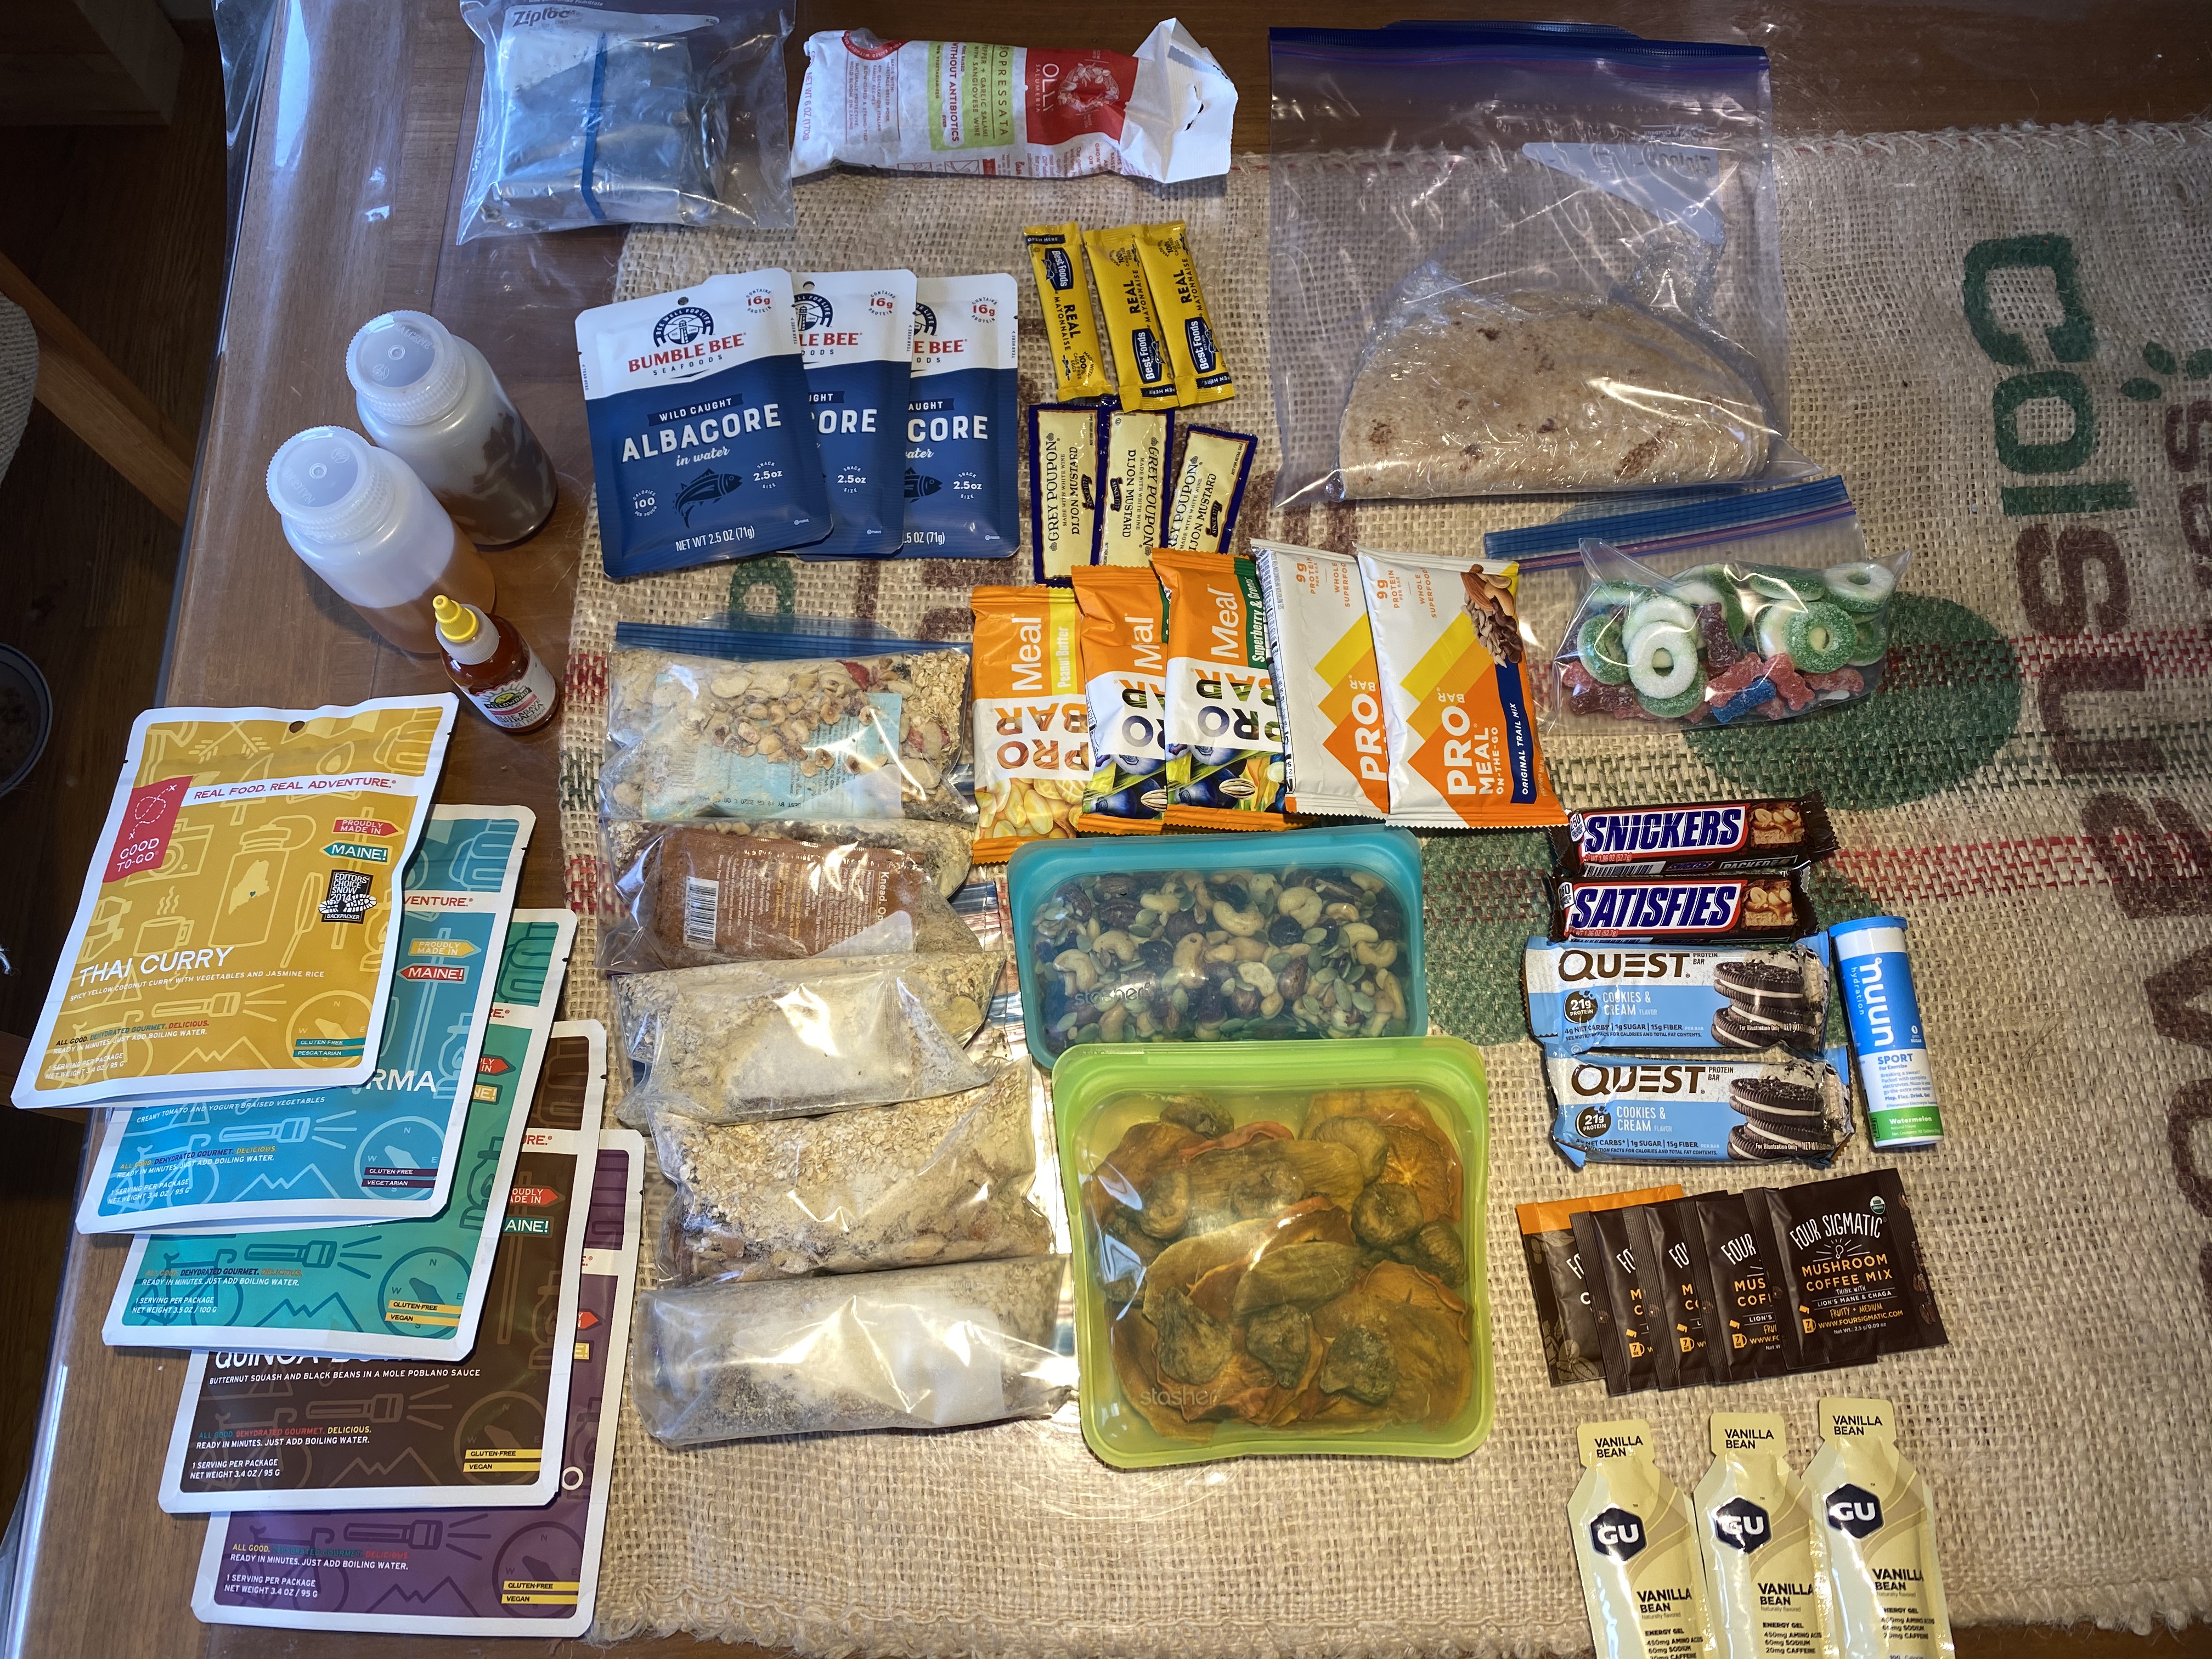
I decided to join American Alpine Institute on one of their Alpinism courses. I would spend 6 days out in the field learning exactly the skills I desired. This would be the longest trip I've spend in the alpine and I was really looking forward to it, especially because I feel like I've gotten better at picking the right foods to pack! Some of the things I brought with me are, homemade granola mix with nut butter, a block of gruyere cheese, salami, peanut butter and honey on tortillas (the backpackers favorite), mushroom coffee and some other yummy stuff.
The itinerary said to meet at the American Alpine Institute office location in Bellingham, Washington, in the morning of the first day. I packed up my car and hit the road!
Alpinism 1: Let The Learning Begin
Once we all arrived, we did a quick role check and gear check. We all laid out our gear and went over the entire gear checklist to make sure we were all ready to go. I remember feeling extremely excited at this point. Going over gear right before heading out to the mountains for 5 days is a really fun feeling, unless you forgot something I guess (luckily, this didn't happen)...
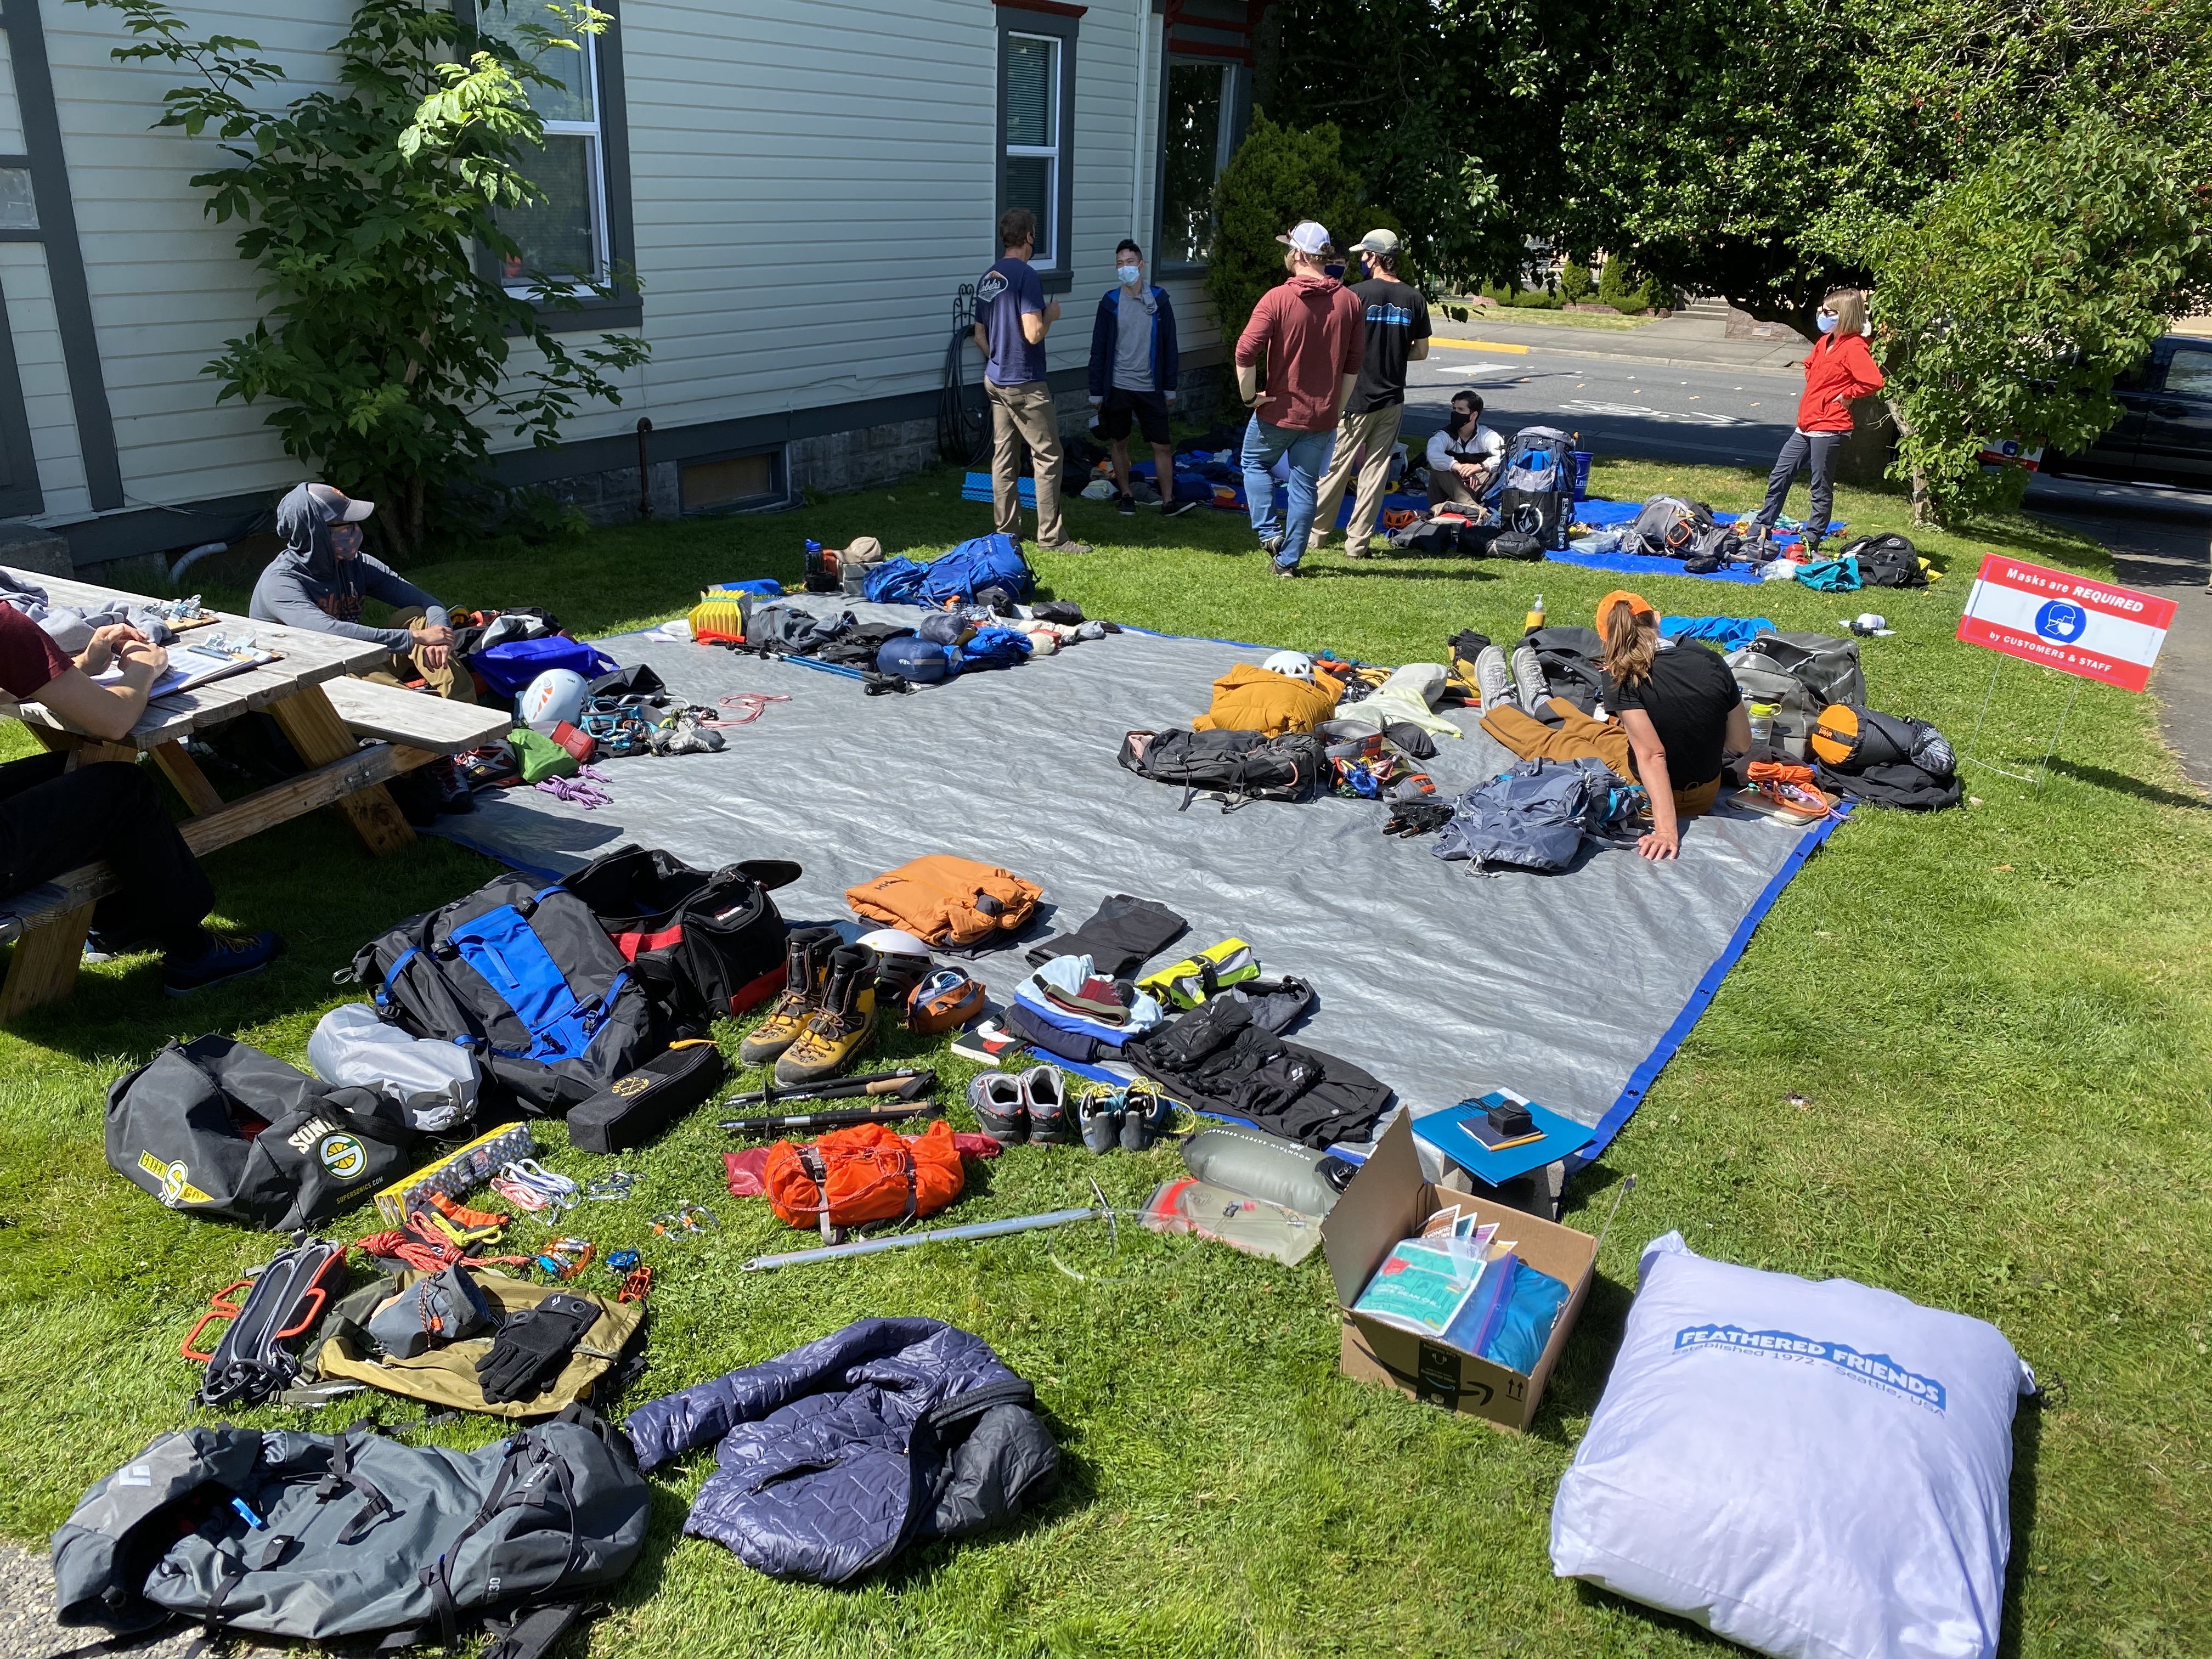
After we finished our gear check, we broke out into smaller teams. These teams consisted of 1 guide and 2-4 students. I was paired up with a guy names Kyle, and our guide was Paul. I was happy to be in a smaller group, and Paul seemed like a very experienced guide. It was time to head out!
Our next stop was Park Butte trailhead. We packed up and decided to meet at the trailhead.
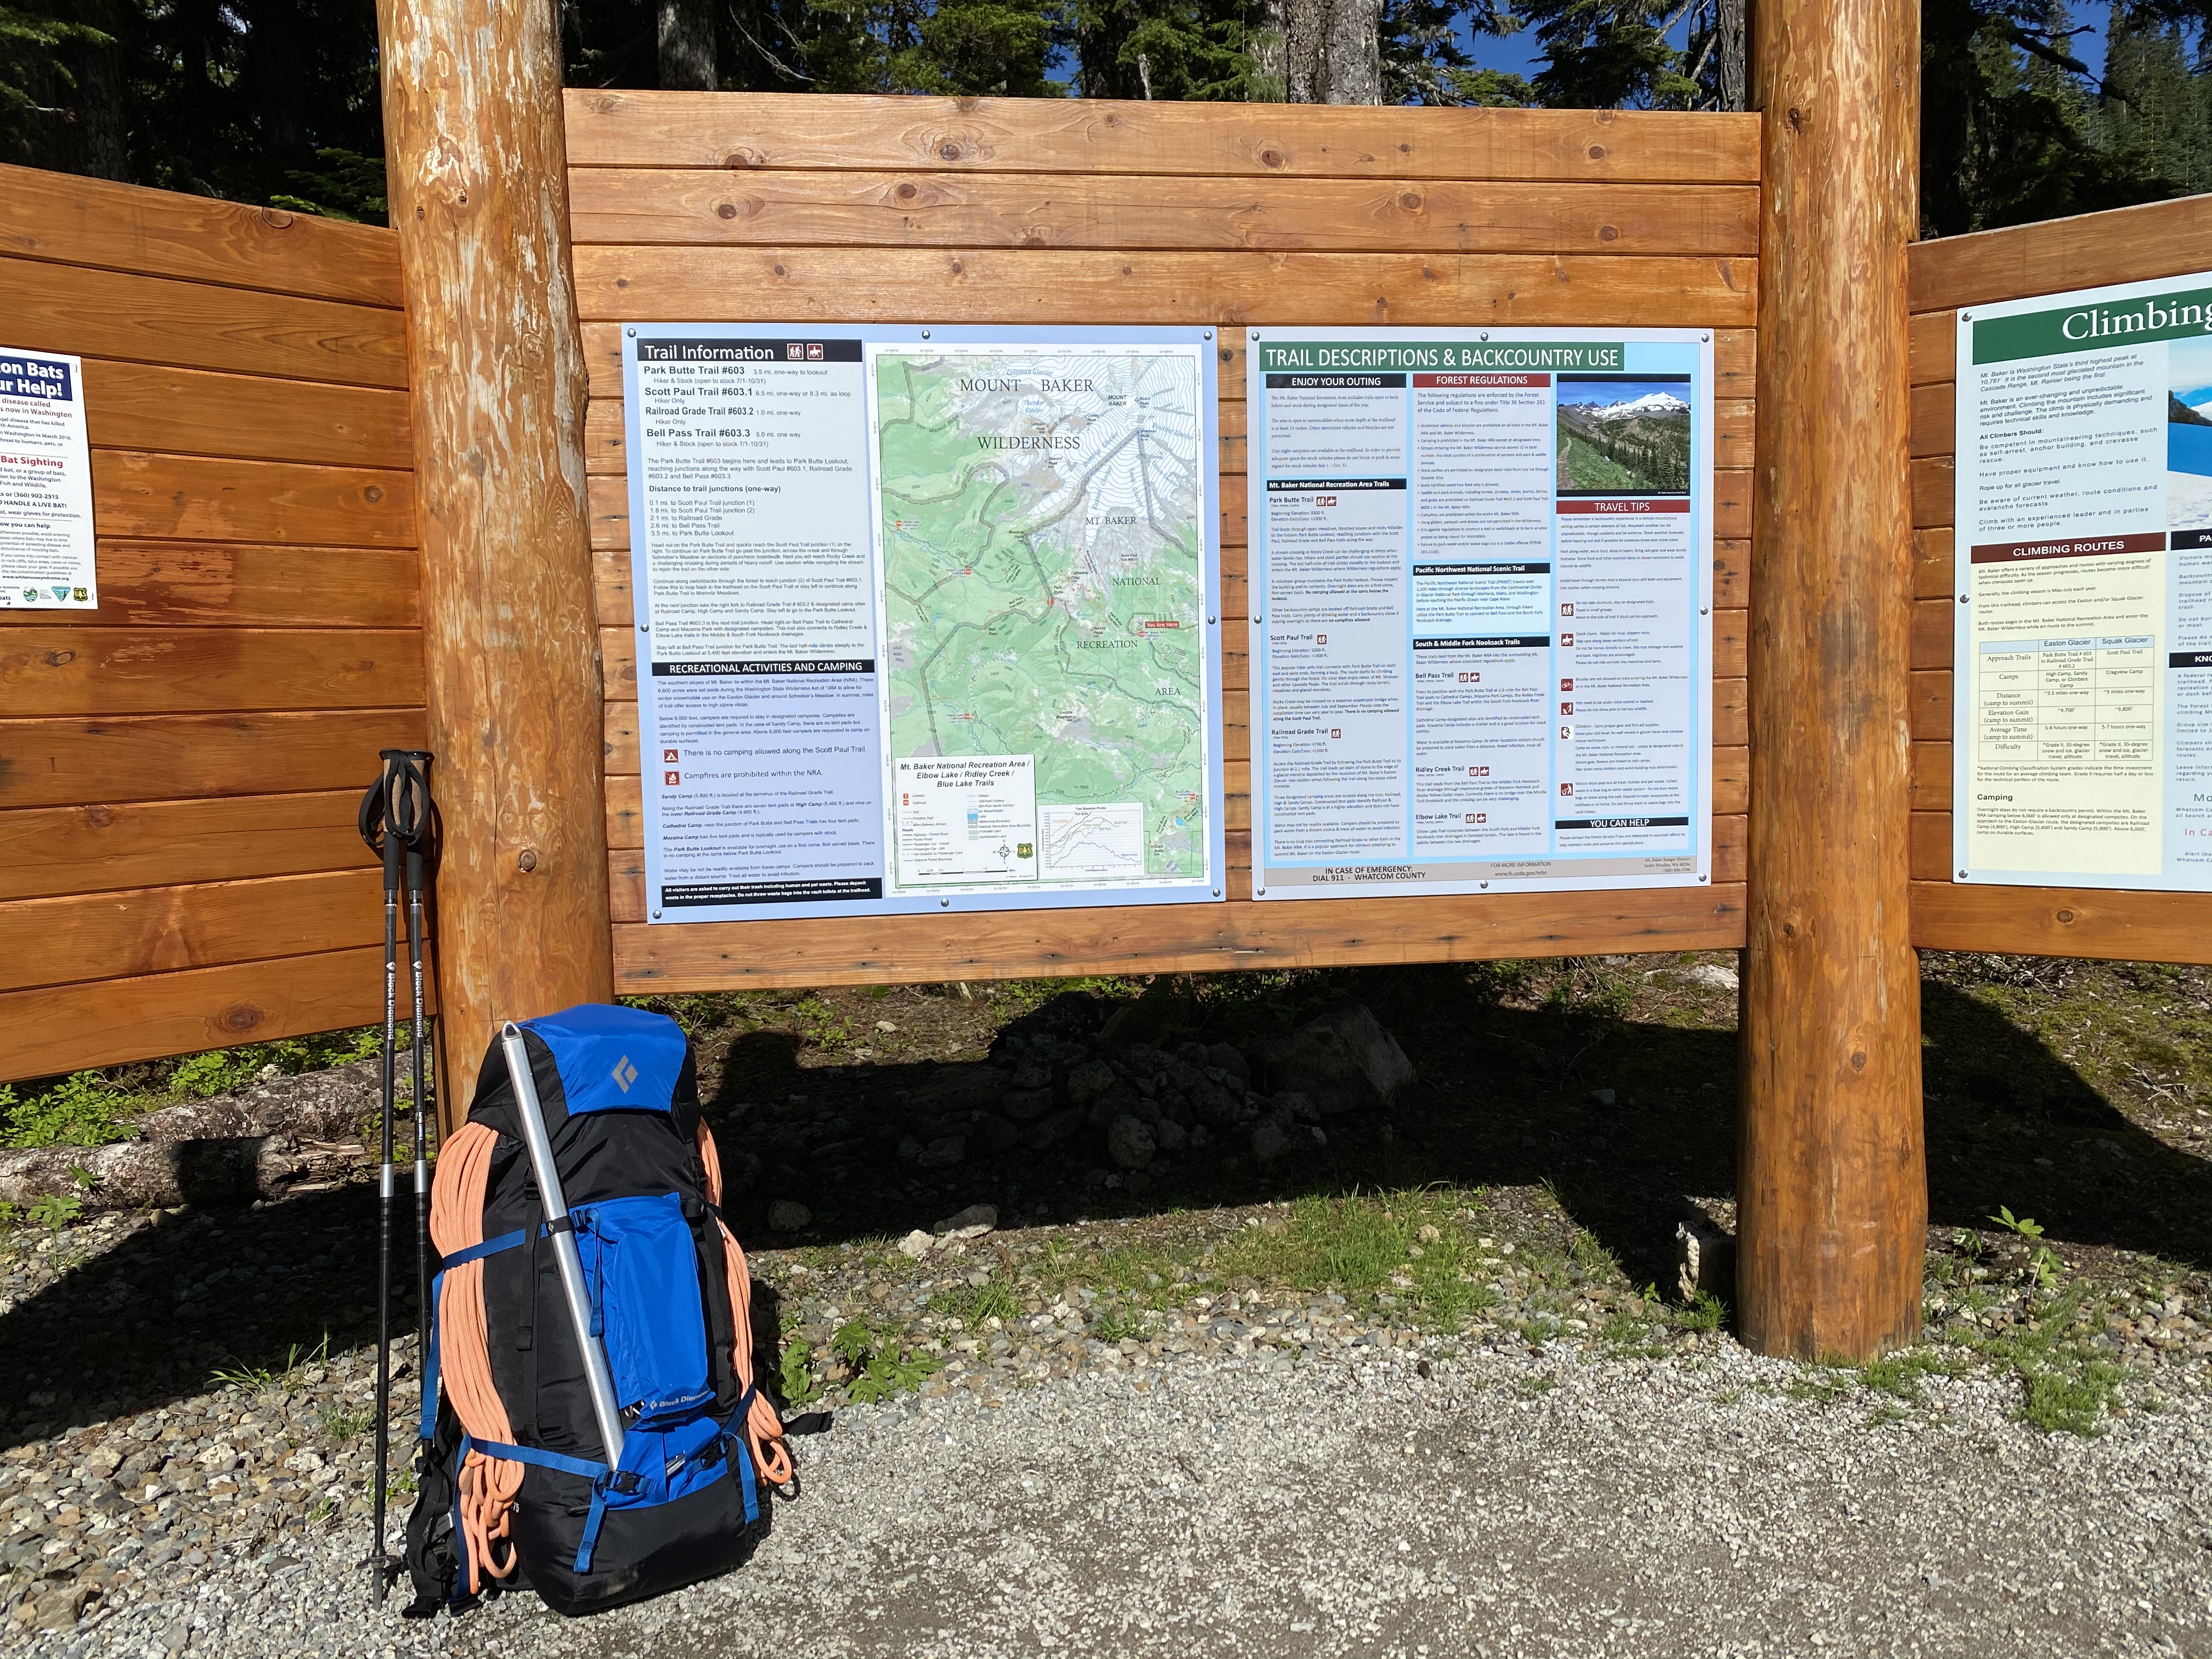
Once we arrived, Paul, Kyle and I divvied up the shared gear, like rope and pickets. I took the rope, Kyle took some pickets, and now that I think about it... Paul's pack looked a lot smaller than ours. Haha, oh well, I guess guides can do that sort of thing.
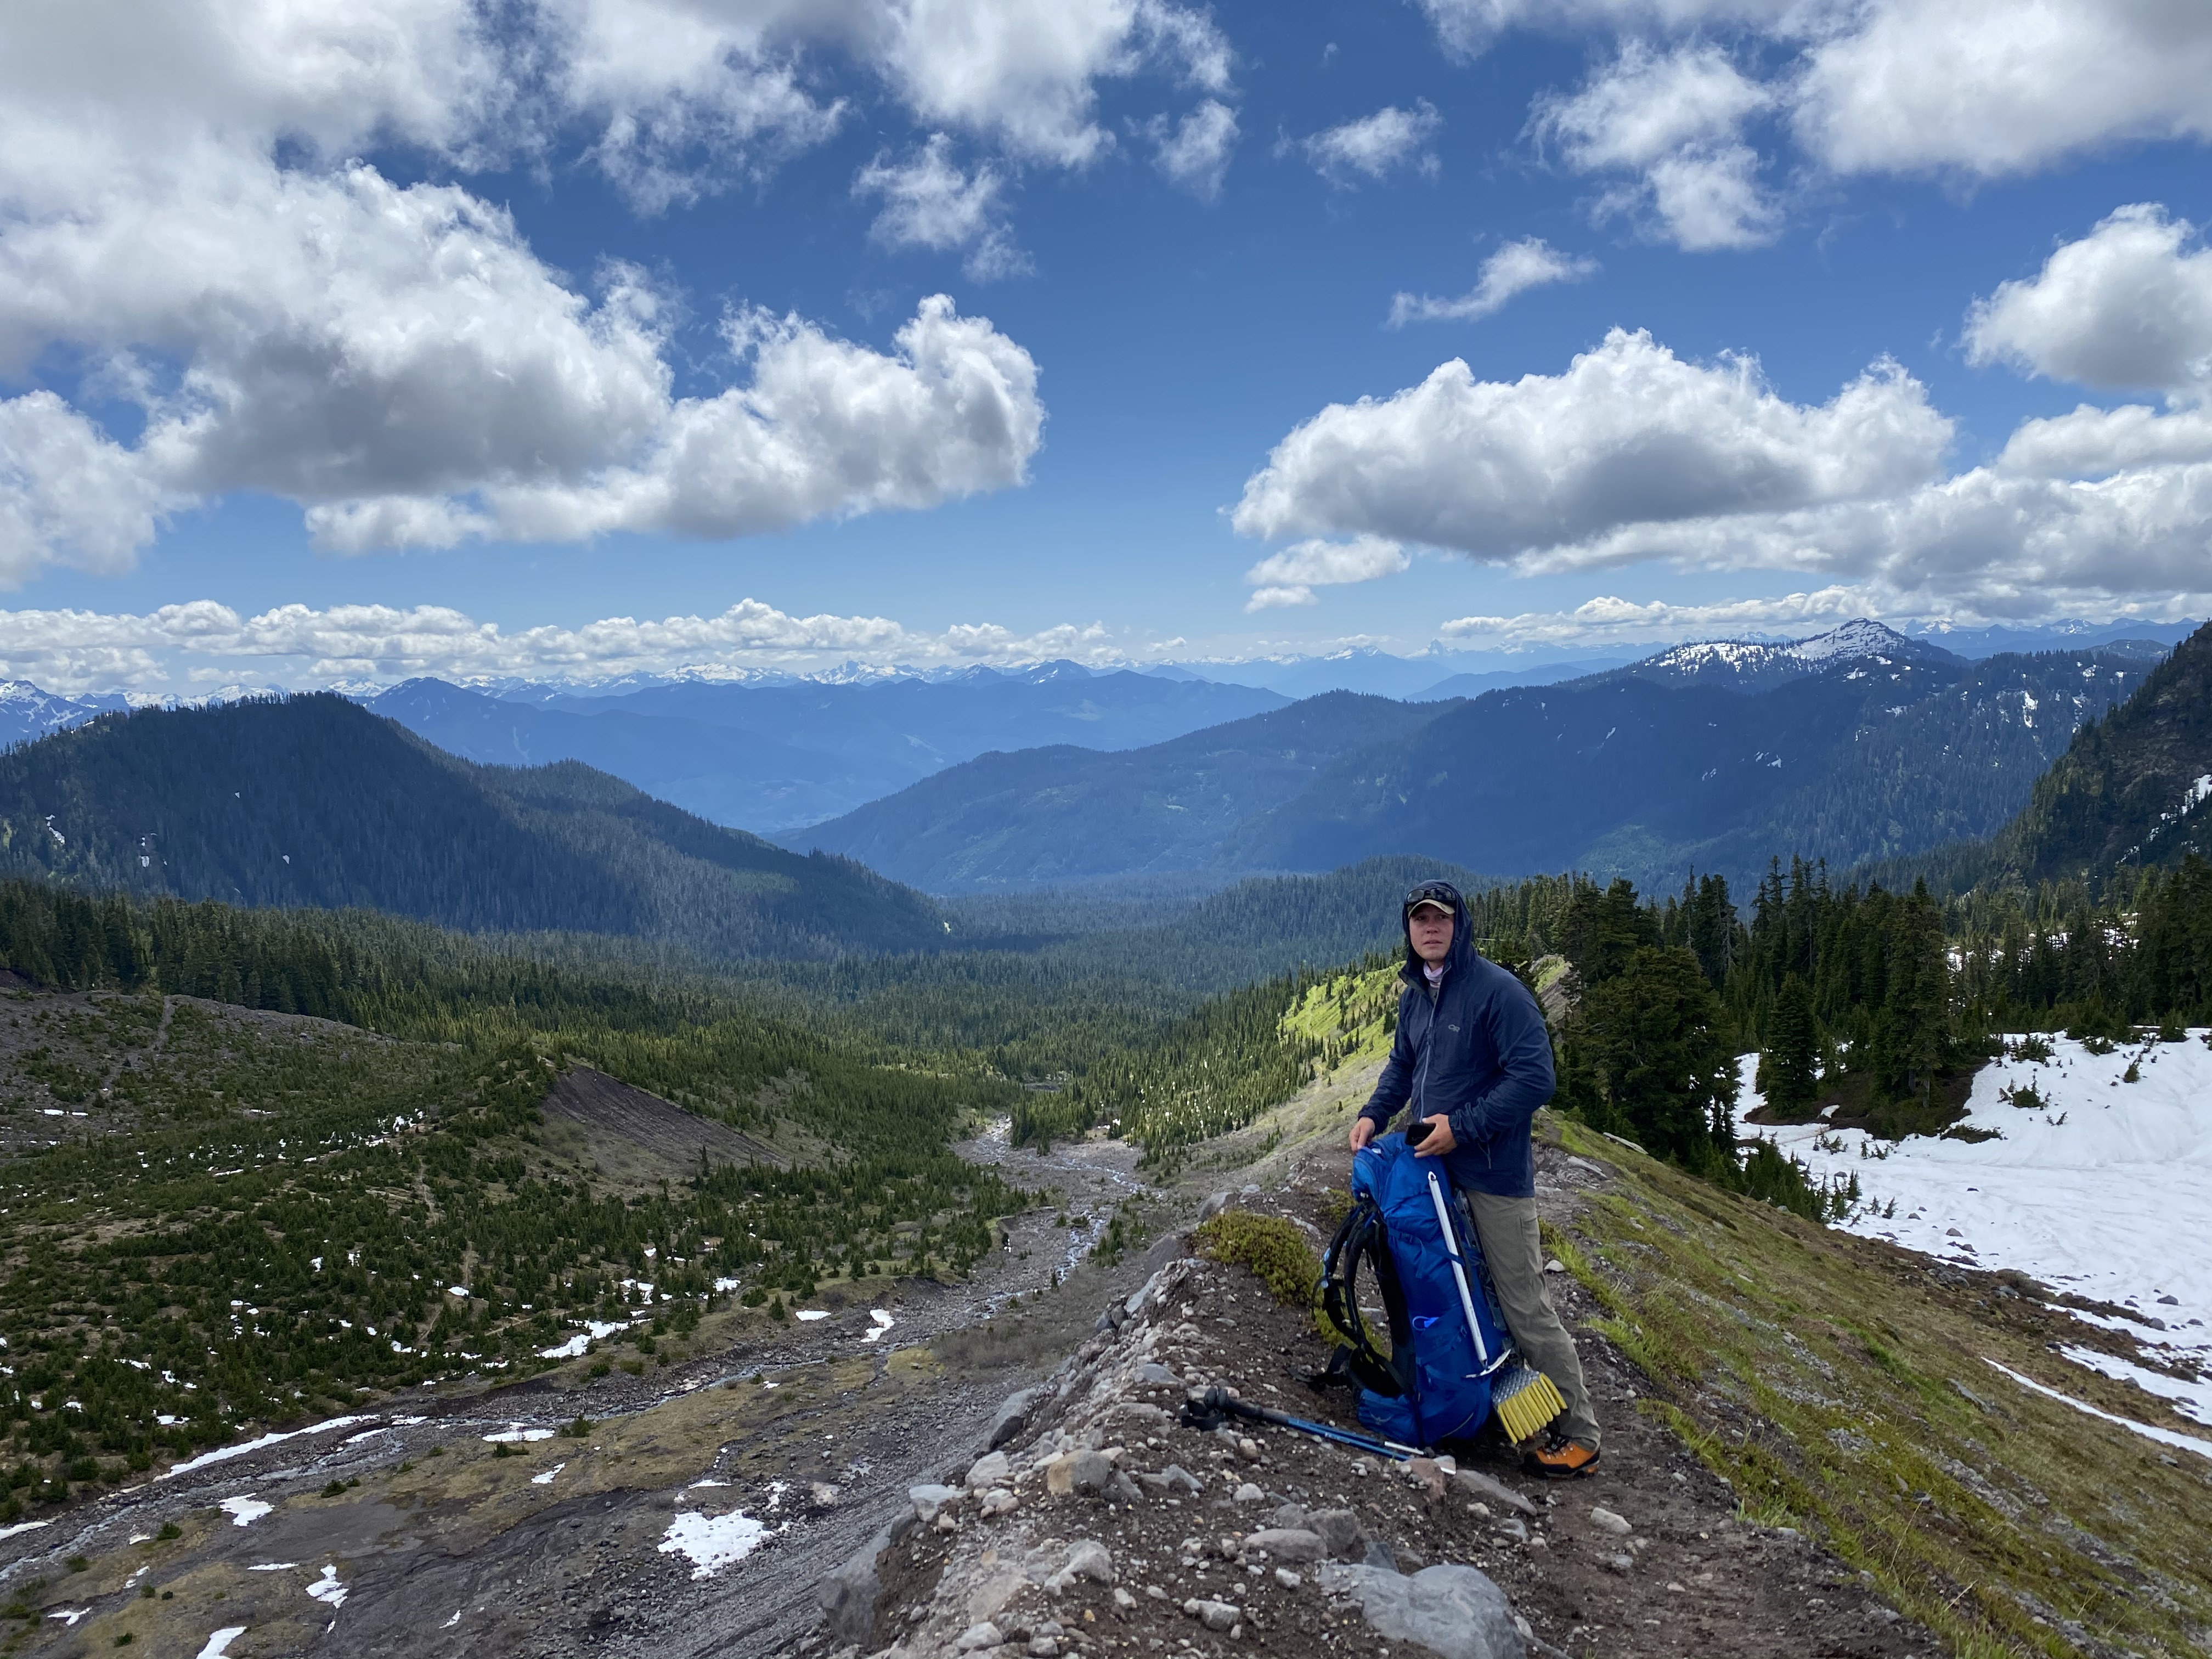
The initial approach up through the forest zone was really pleasant. We hiked through a section of old growth evergreens, including some Alaskan Cedar.
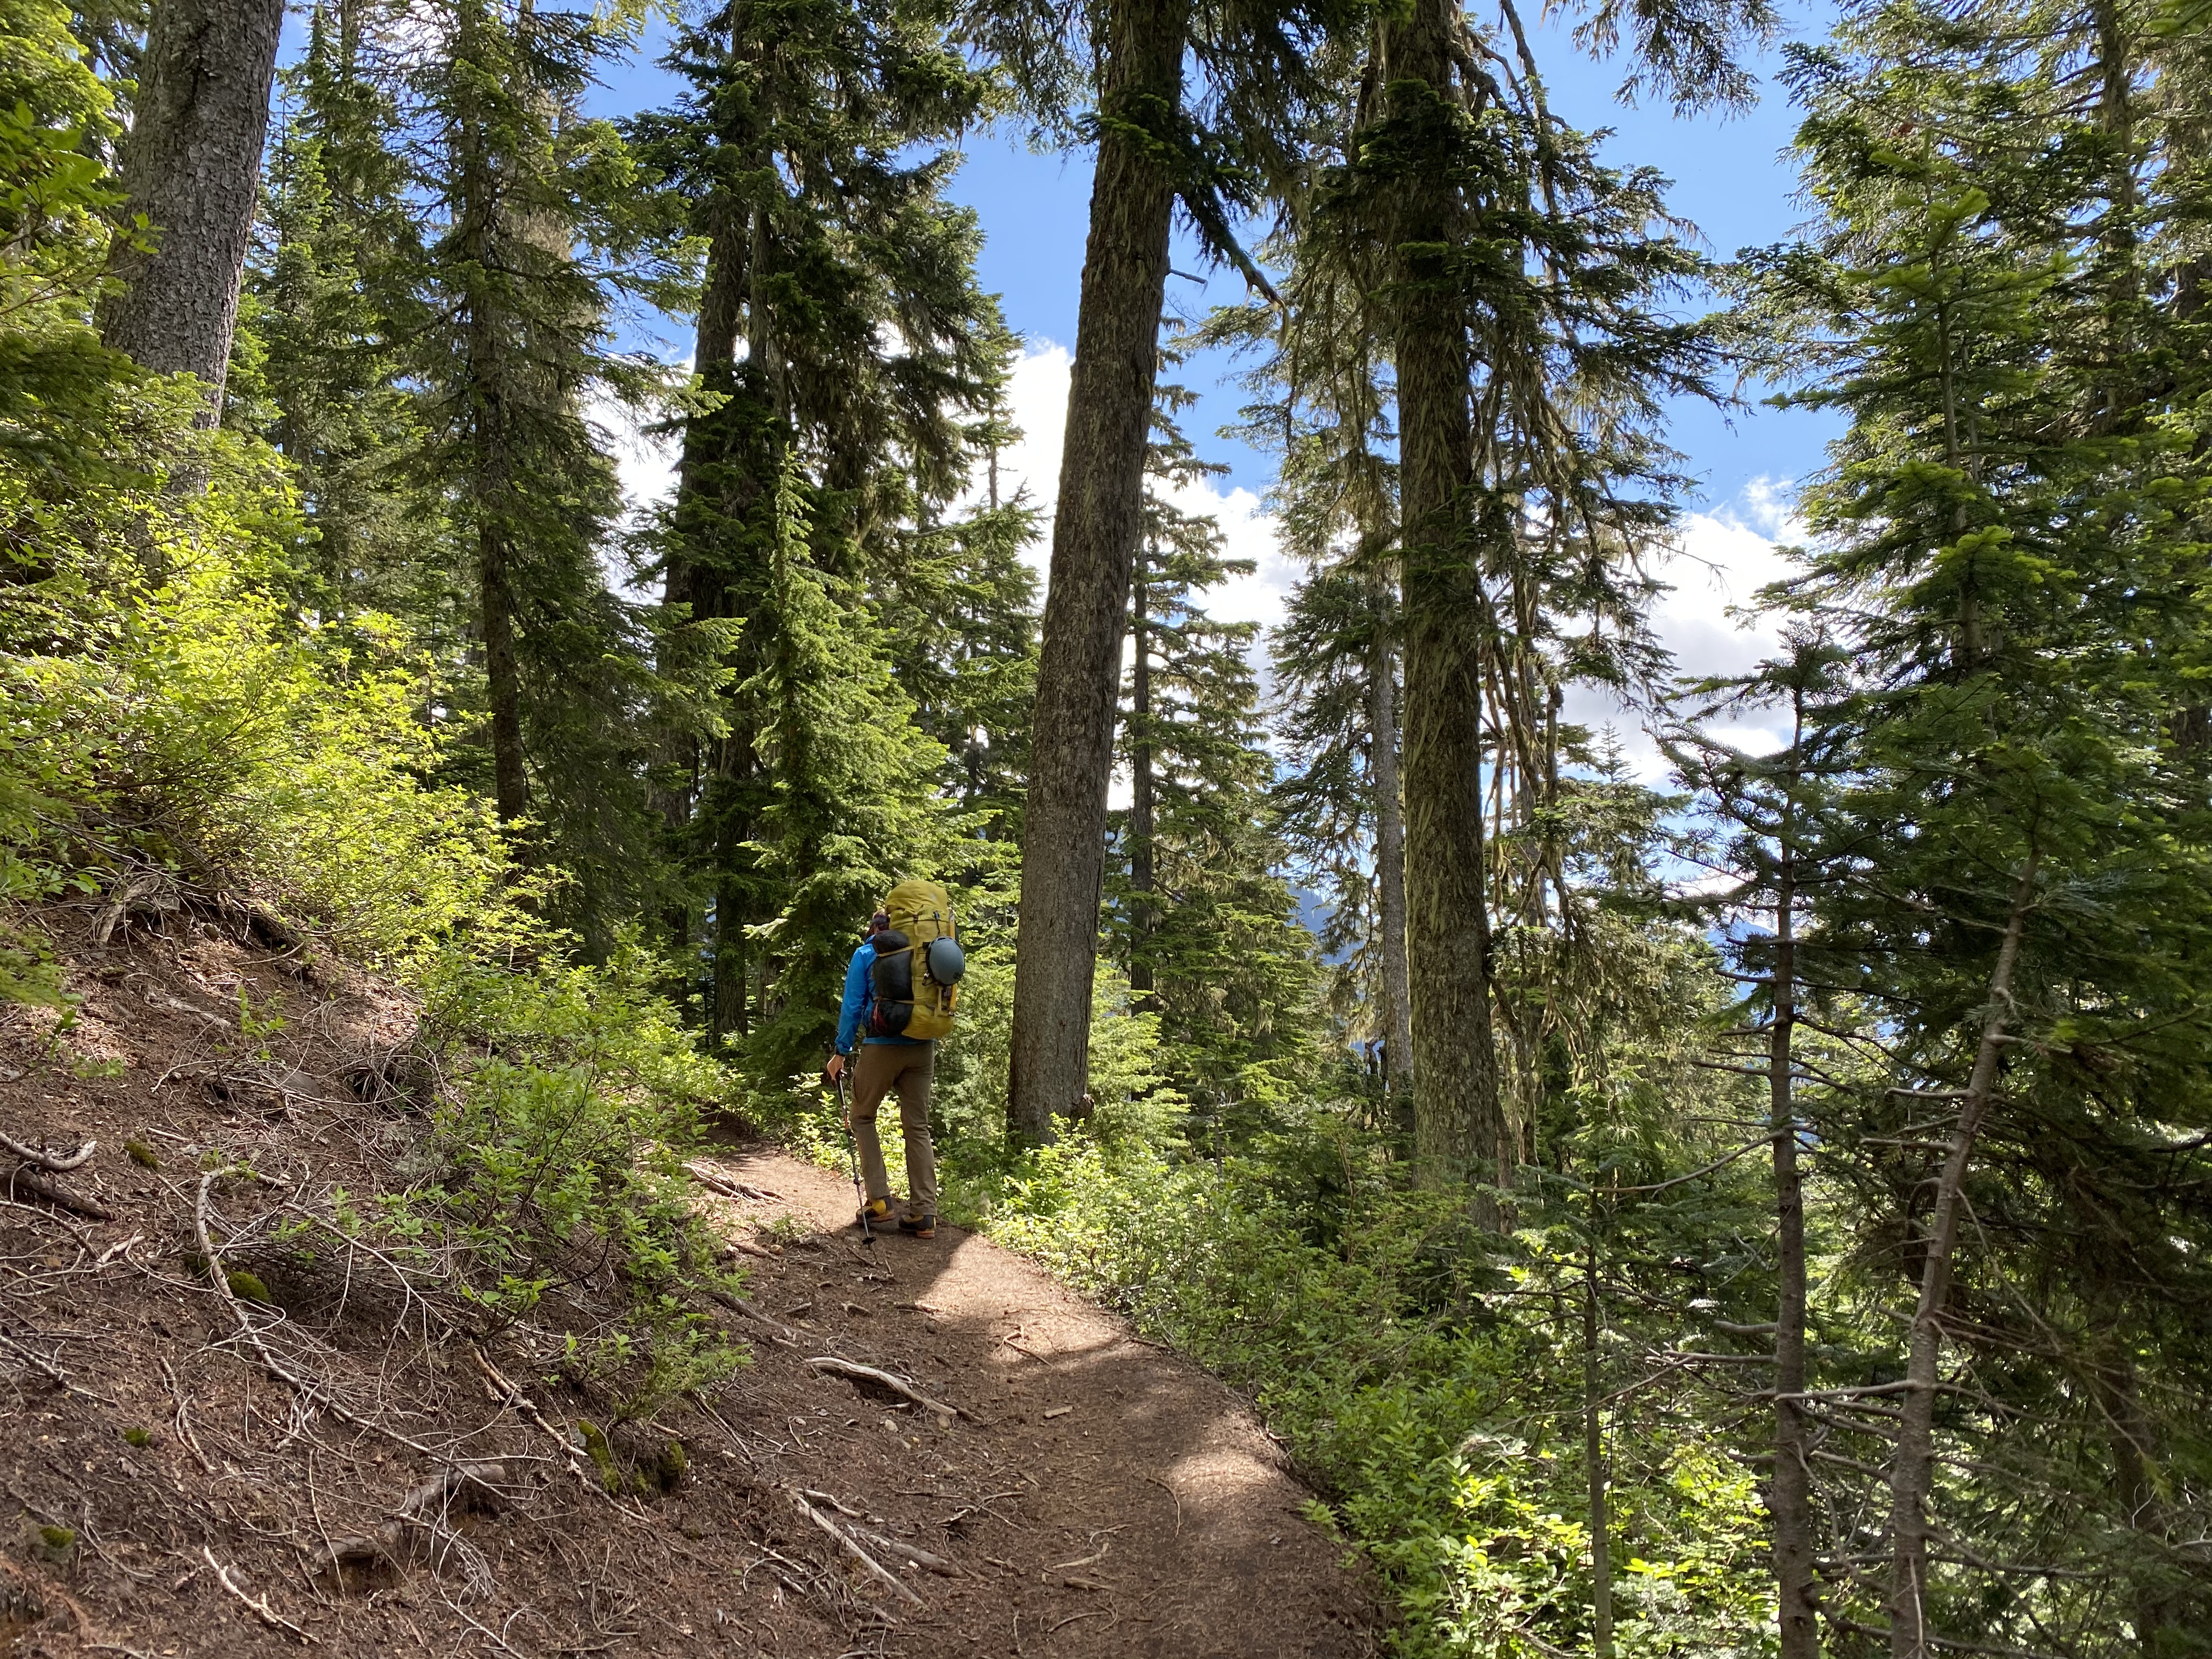
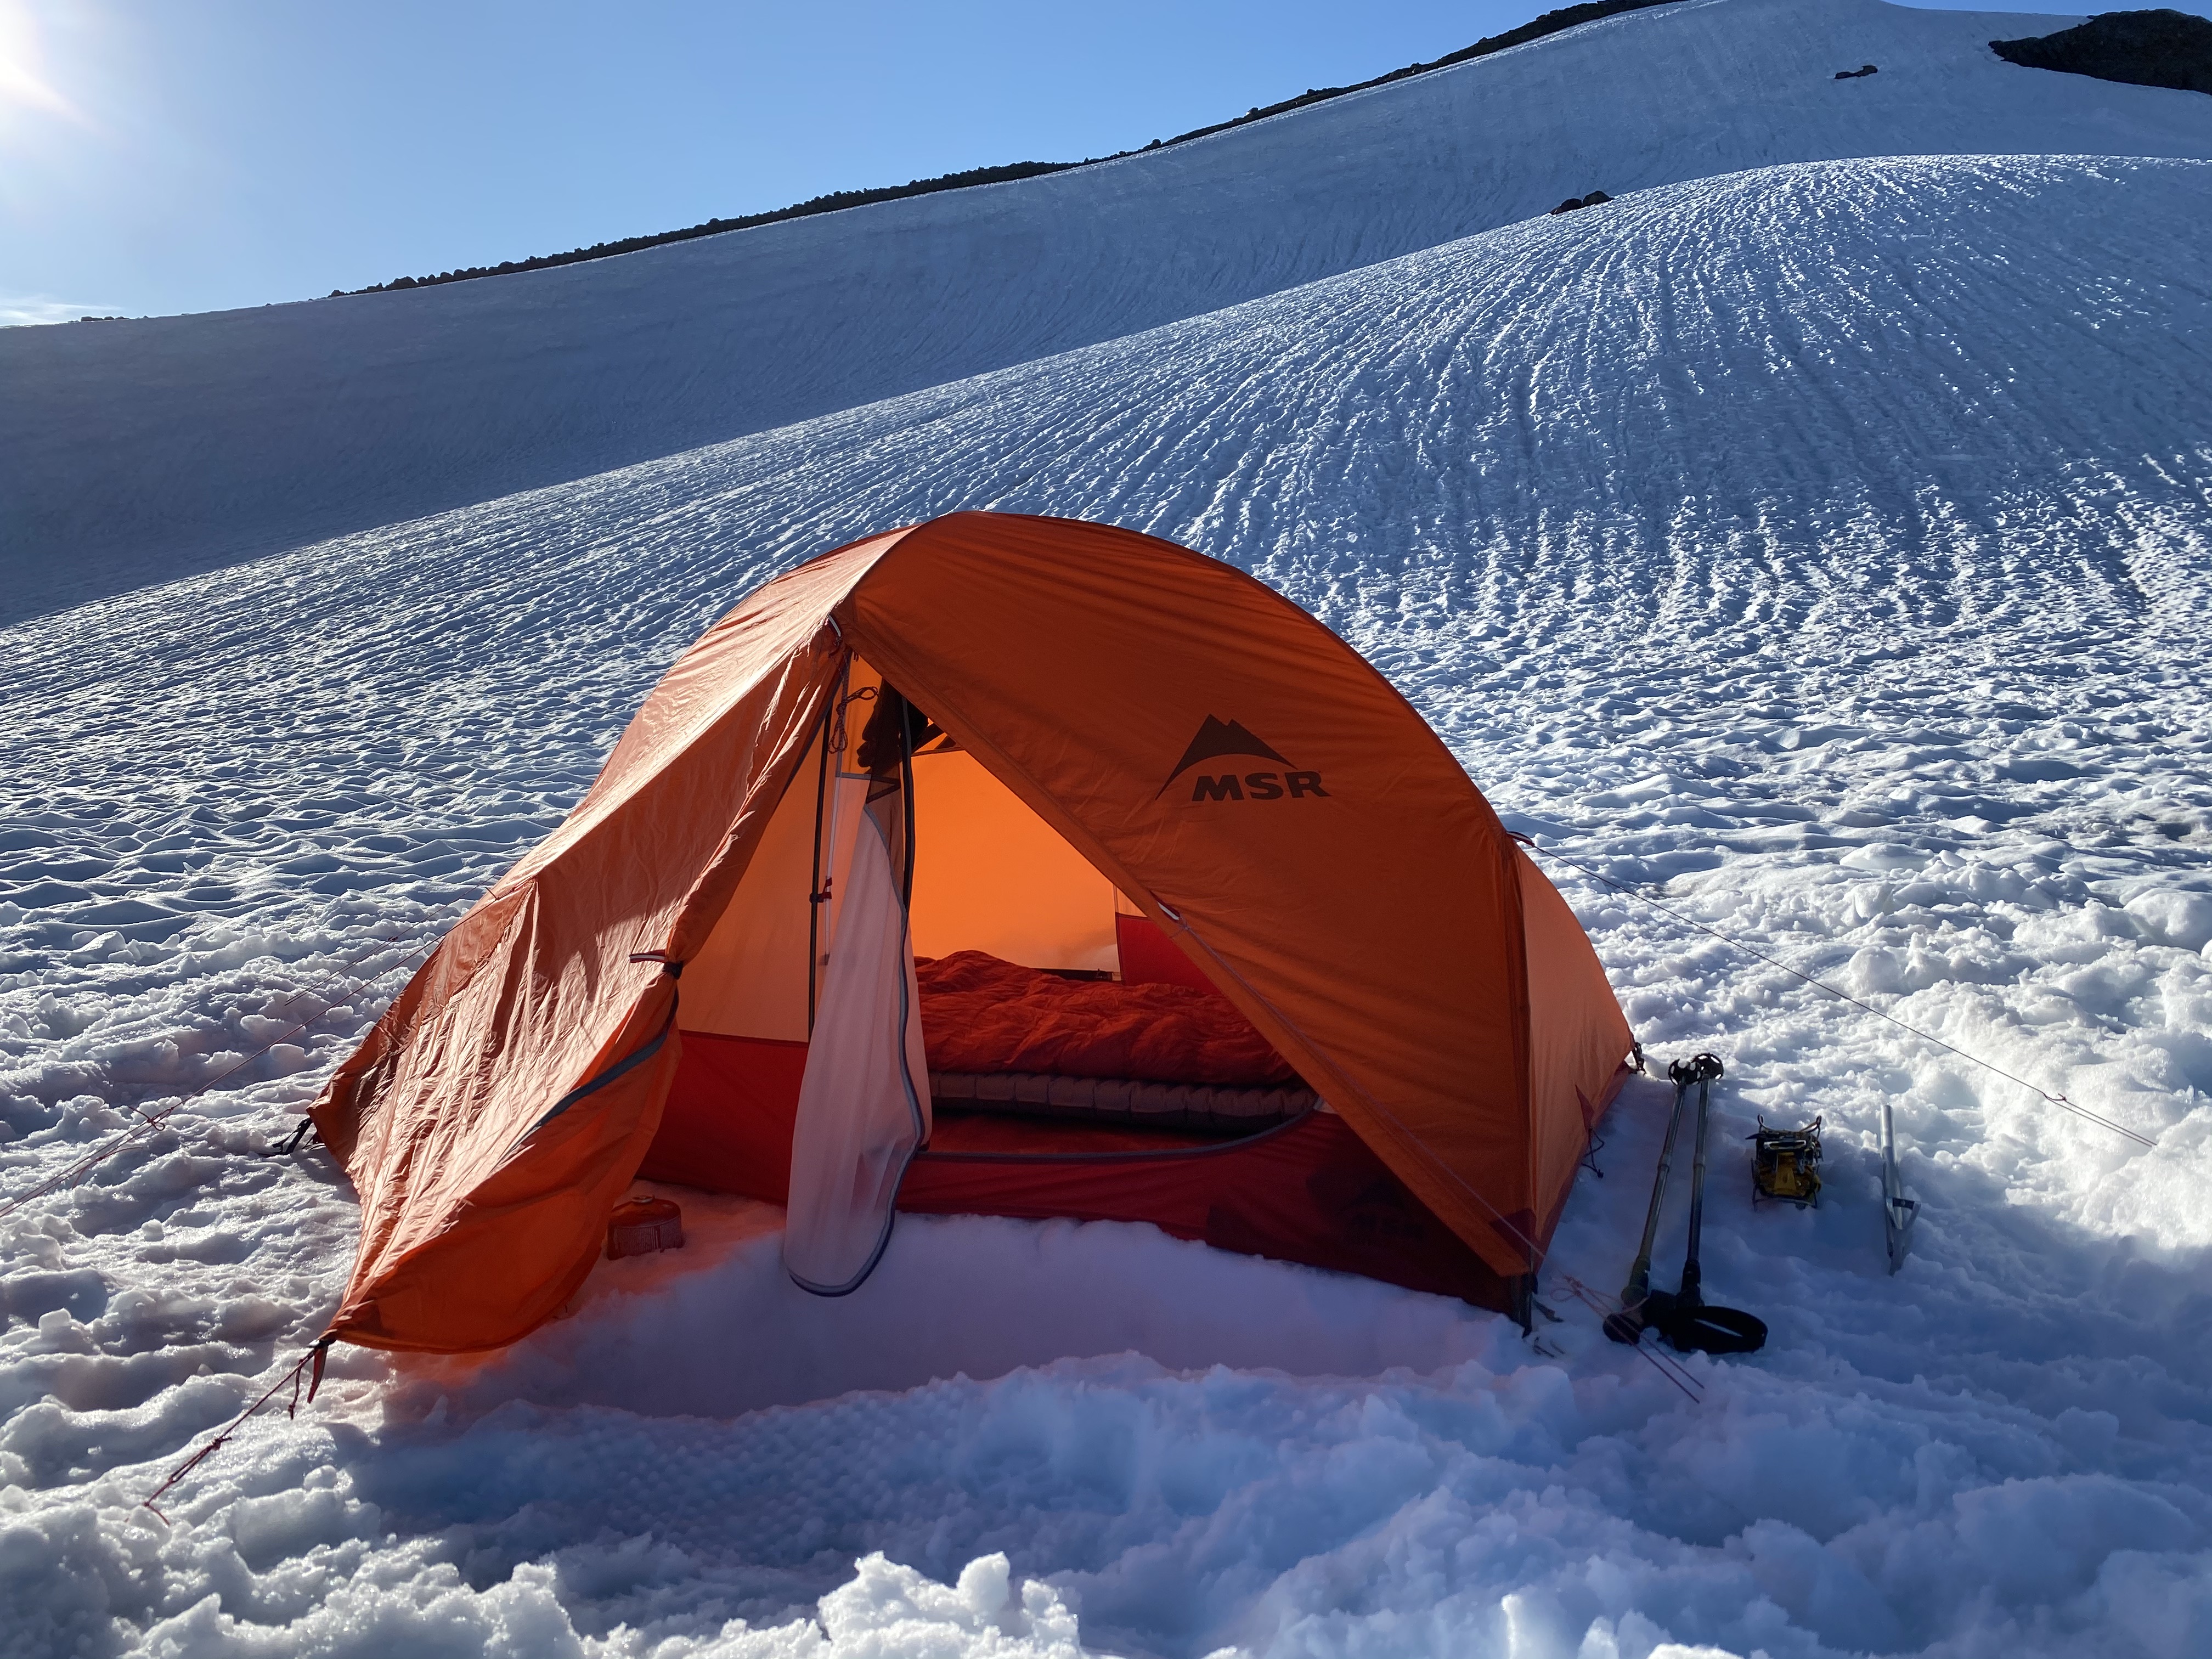
As soon as we got onto Railroad Grade trail, we broke out of the treeline. We gained a soft ridge of gully or moraine that starts from the bottom of Easton glacier. We were almost to camp and, we were a bit tired of carrying these heavy packs. We just needed to hike up to the edge of Easton glacier and thats where we would set up camp.
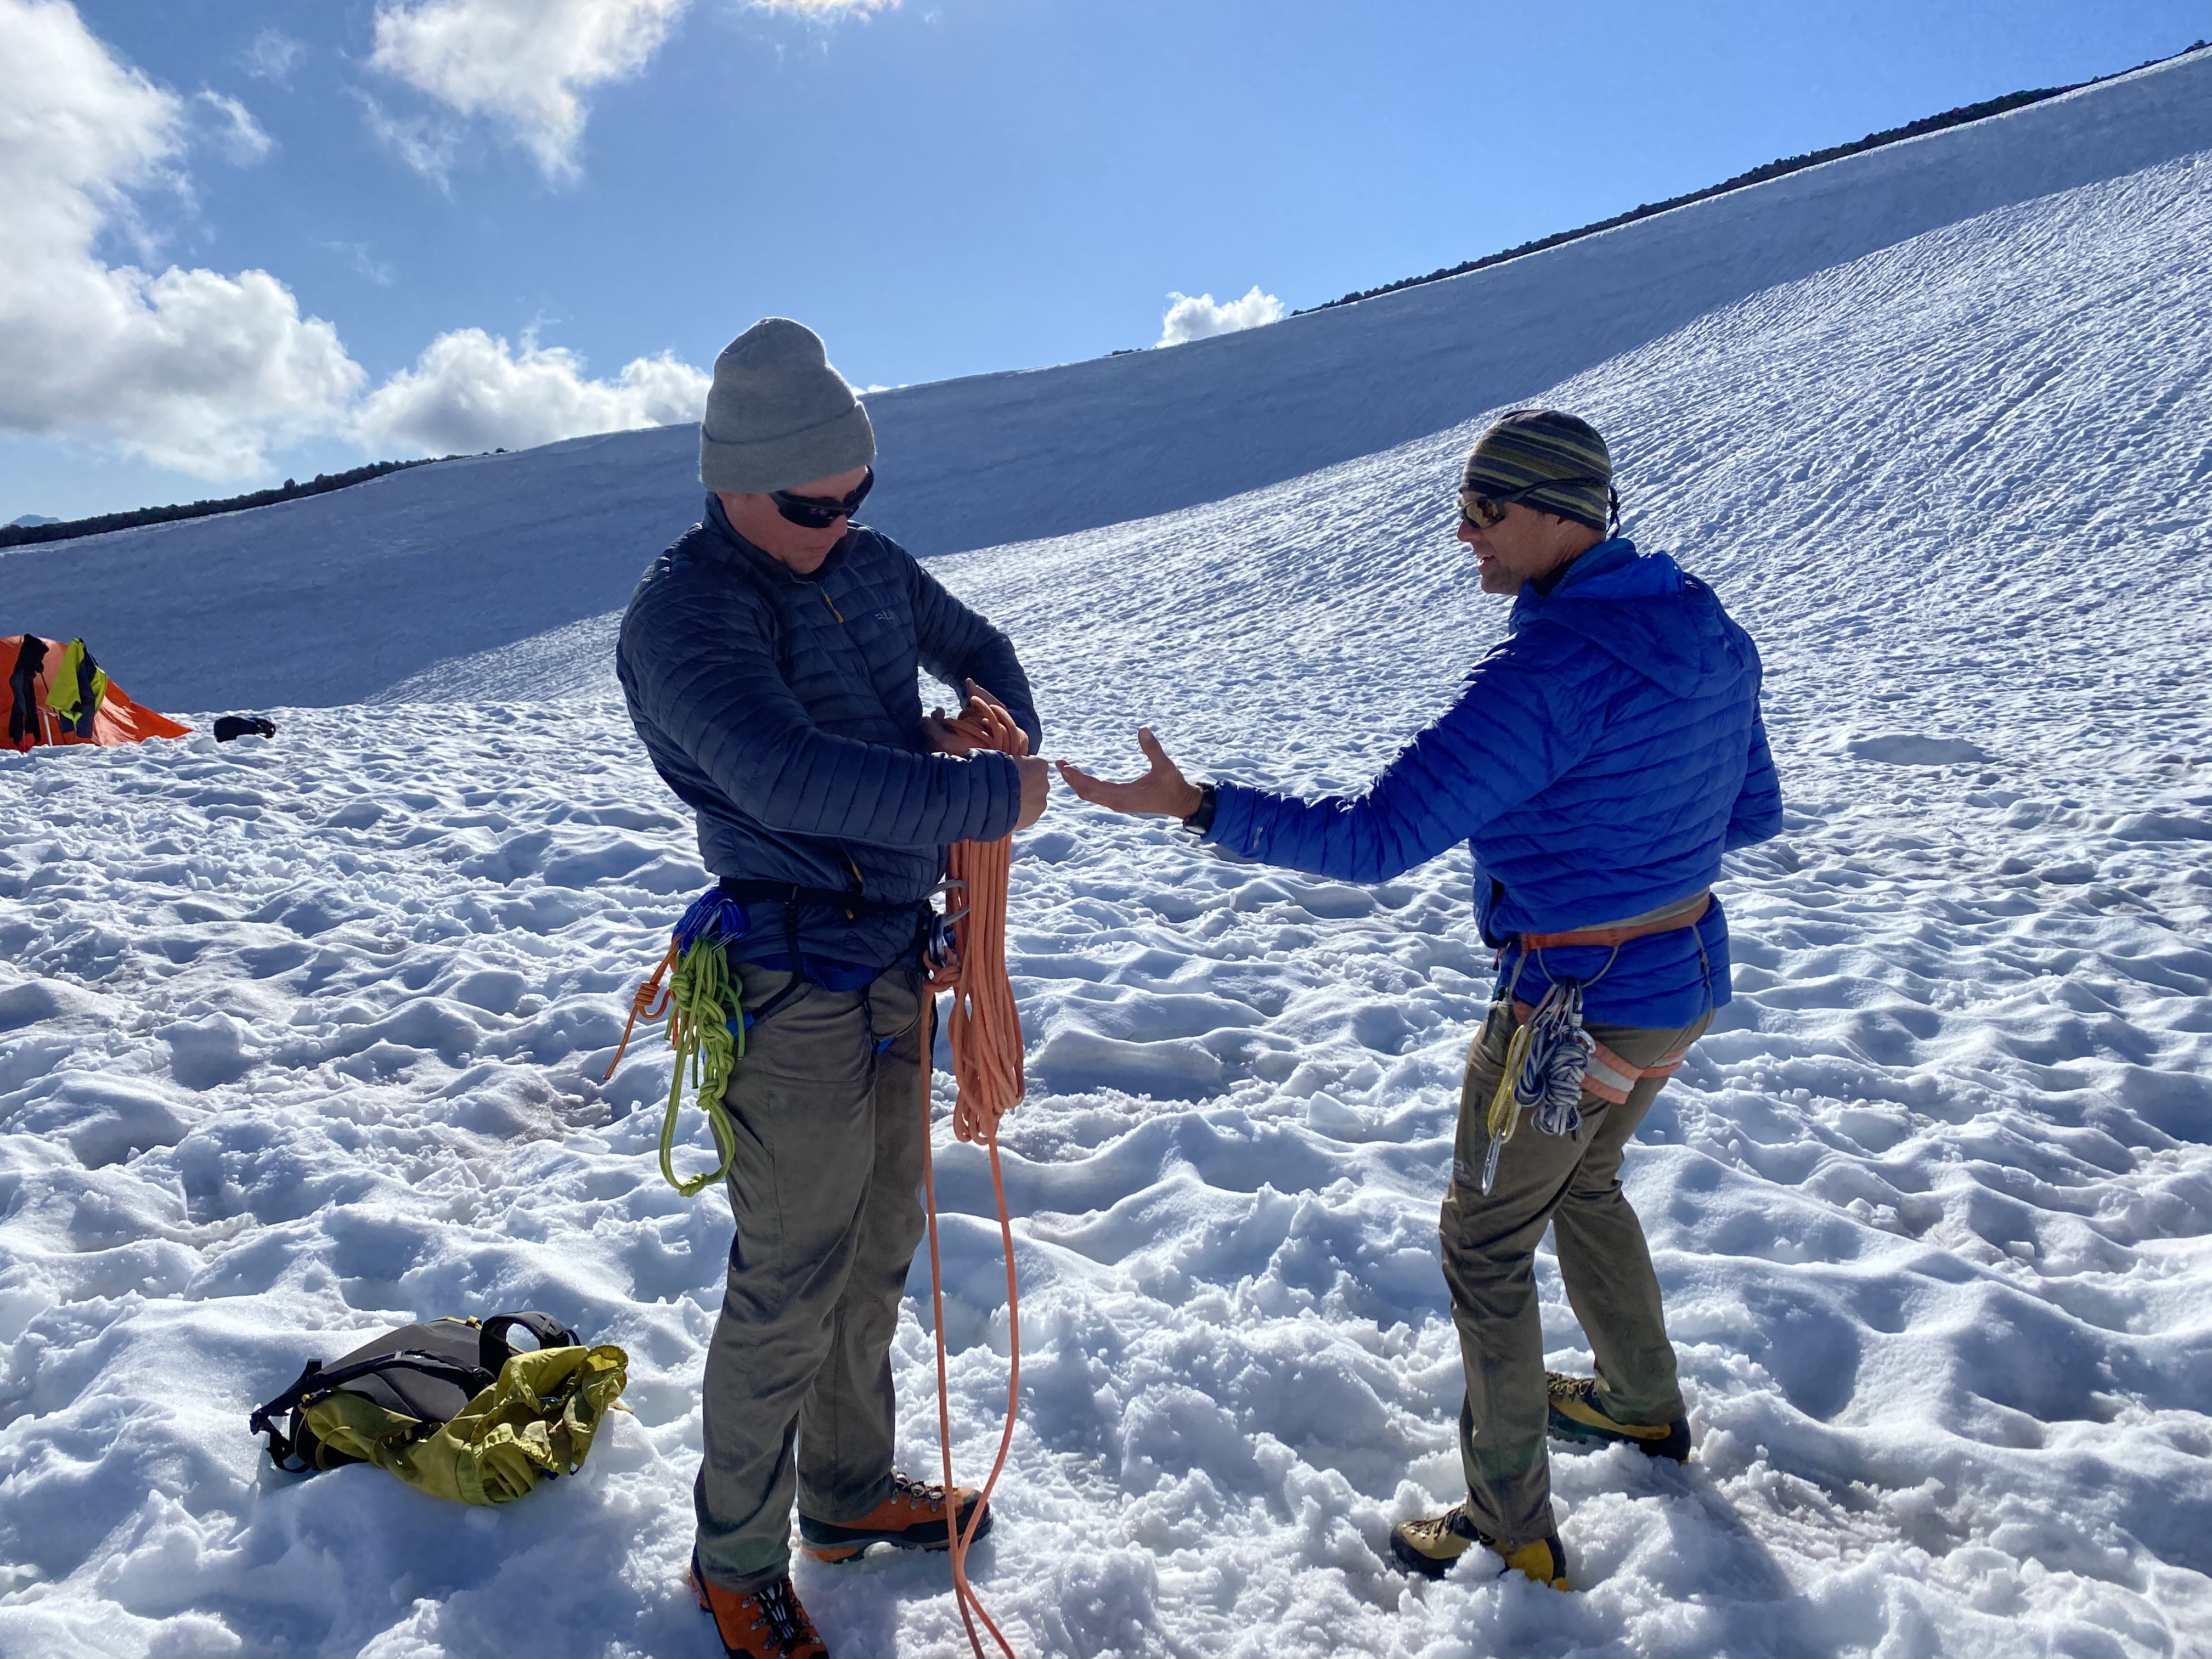
It didn't take too much longer to get to camp. Once we did, we were graced with a tiny stream of clean flowing water. We all setup our tents and decided to group back up to go over some basics! We were going to learn some simple rope management skills like coils and knots commonly used in mountaineering.
Day 2 on the Mountain
We spent the second day on the mountain learning proper crampon use, rope management when on a rope team, self-arresting and, crevasse rescue techniques using haul systems.
Crampon Walking Techniques
There are a lot of different styles of walking in crampons depending on the slope your traveling on. Walking techniques are often named by country (French, German or American technique for example). Although, in the French and English language there are specific styles, which have names as well. For example, "duck-footing", "flat-footing", or a combination of the both. In French these are called "pied en canard", "pied à plat", and "pied troisième" respectively. There is also "front-pointing", "kick-stepping" or, you can also cut steps with your ice axe. These techniques are usually only used when the slope is very steep and/or icy.
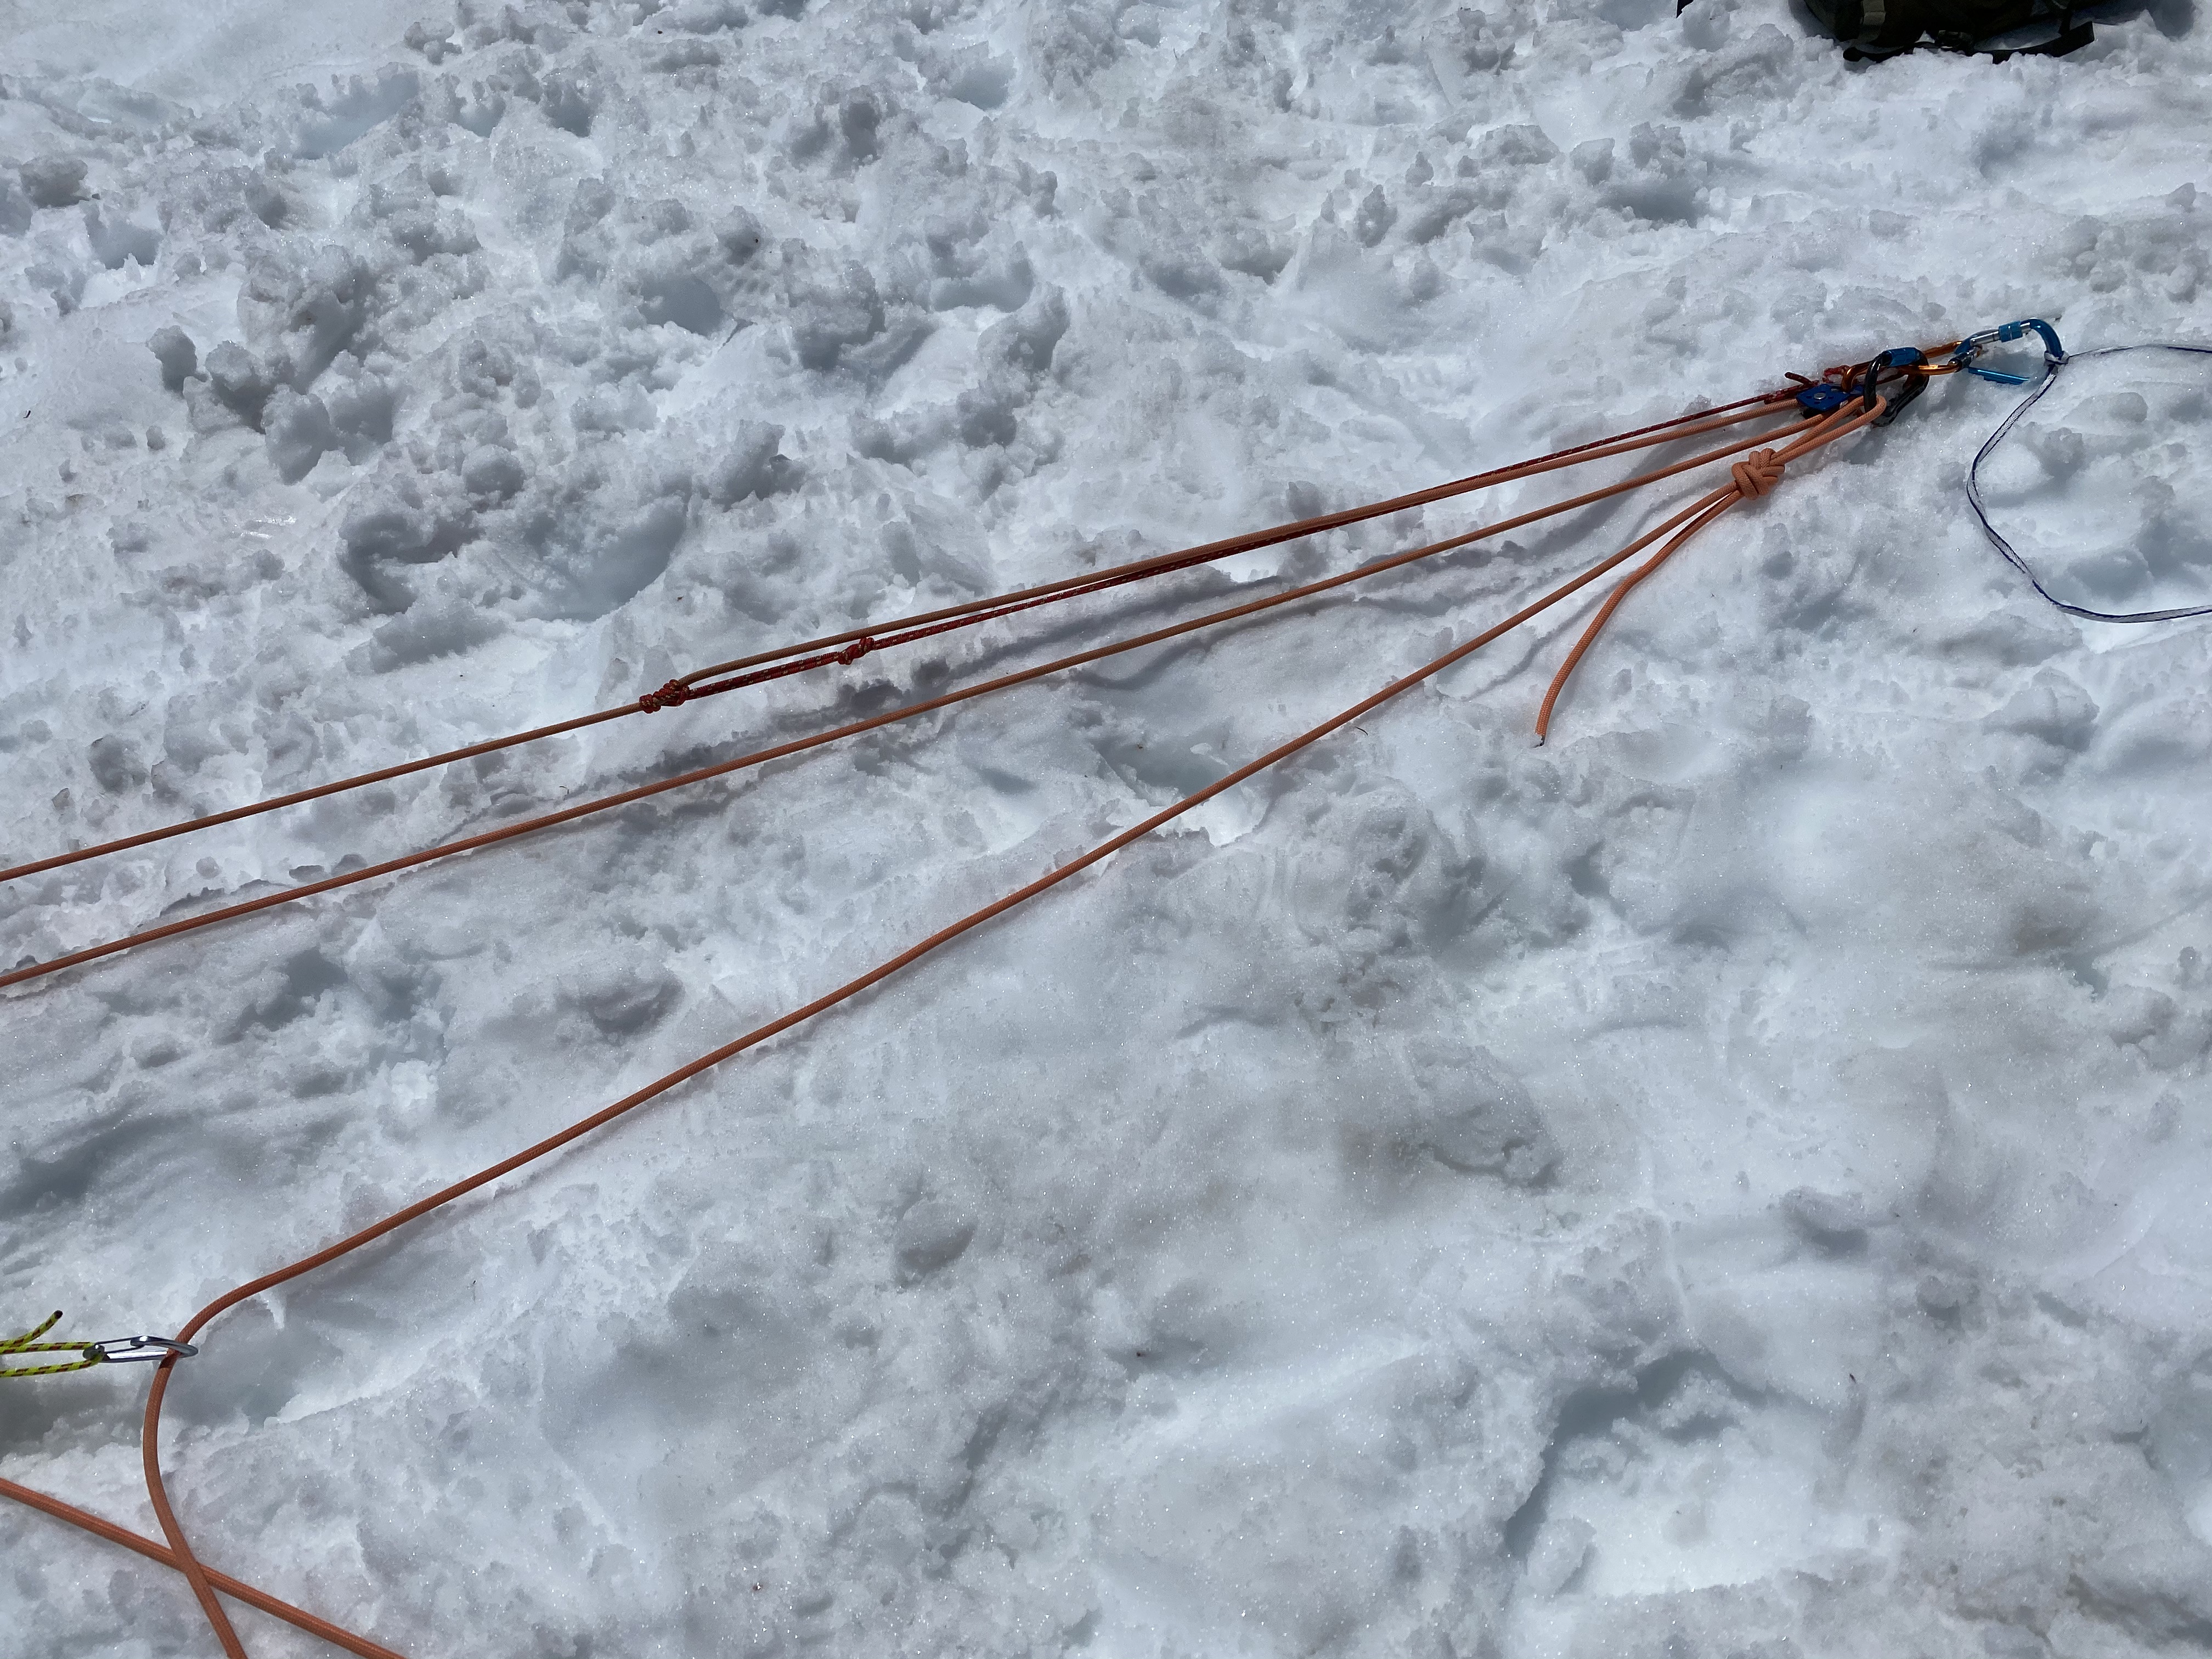
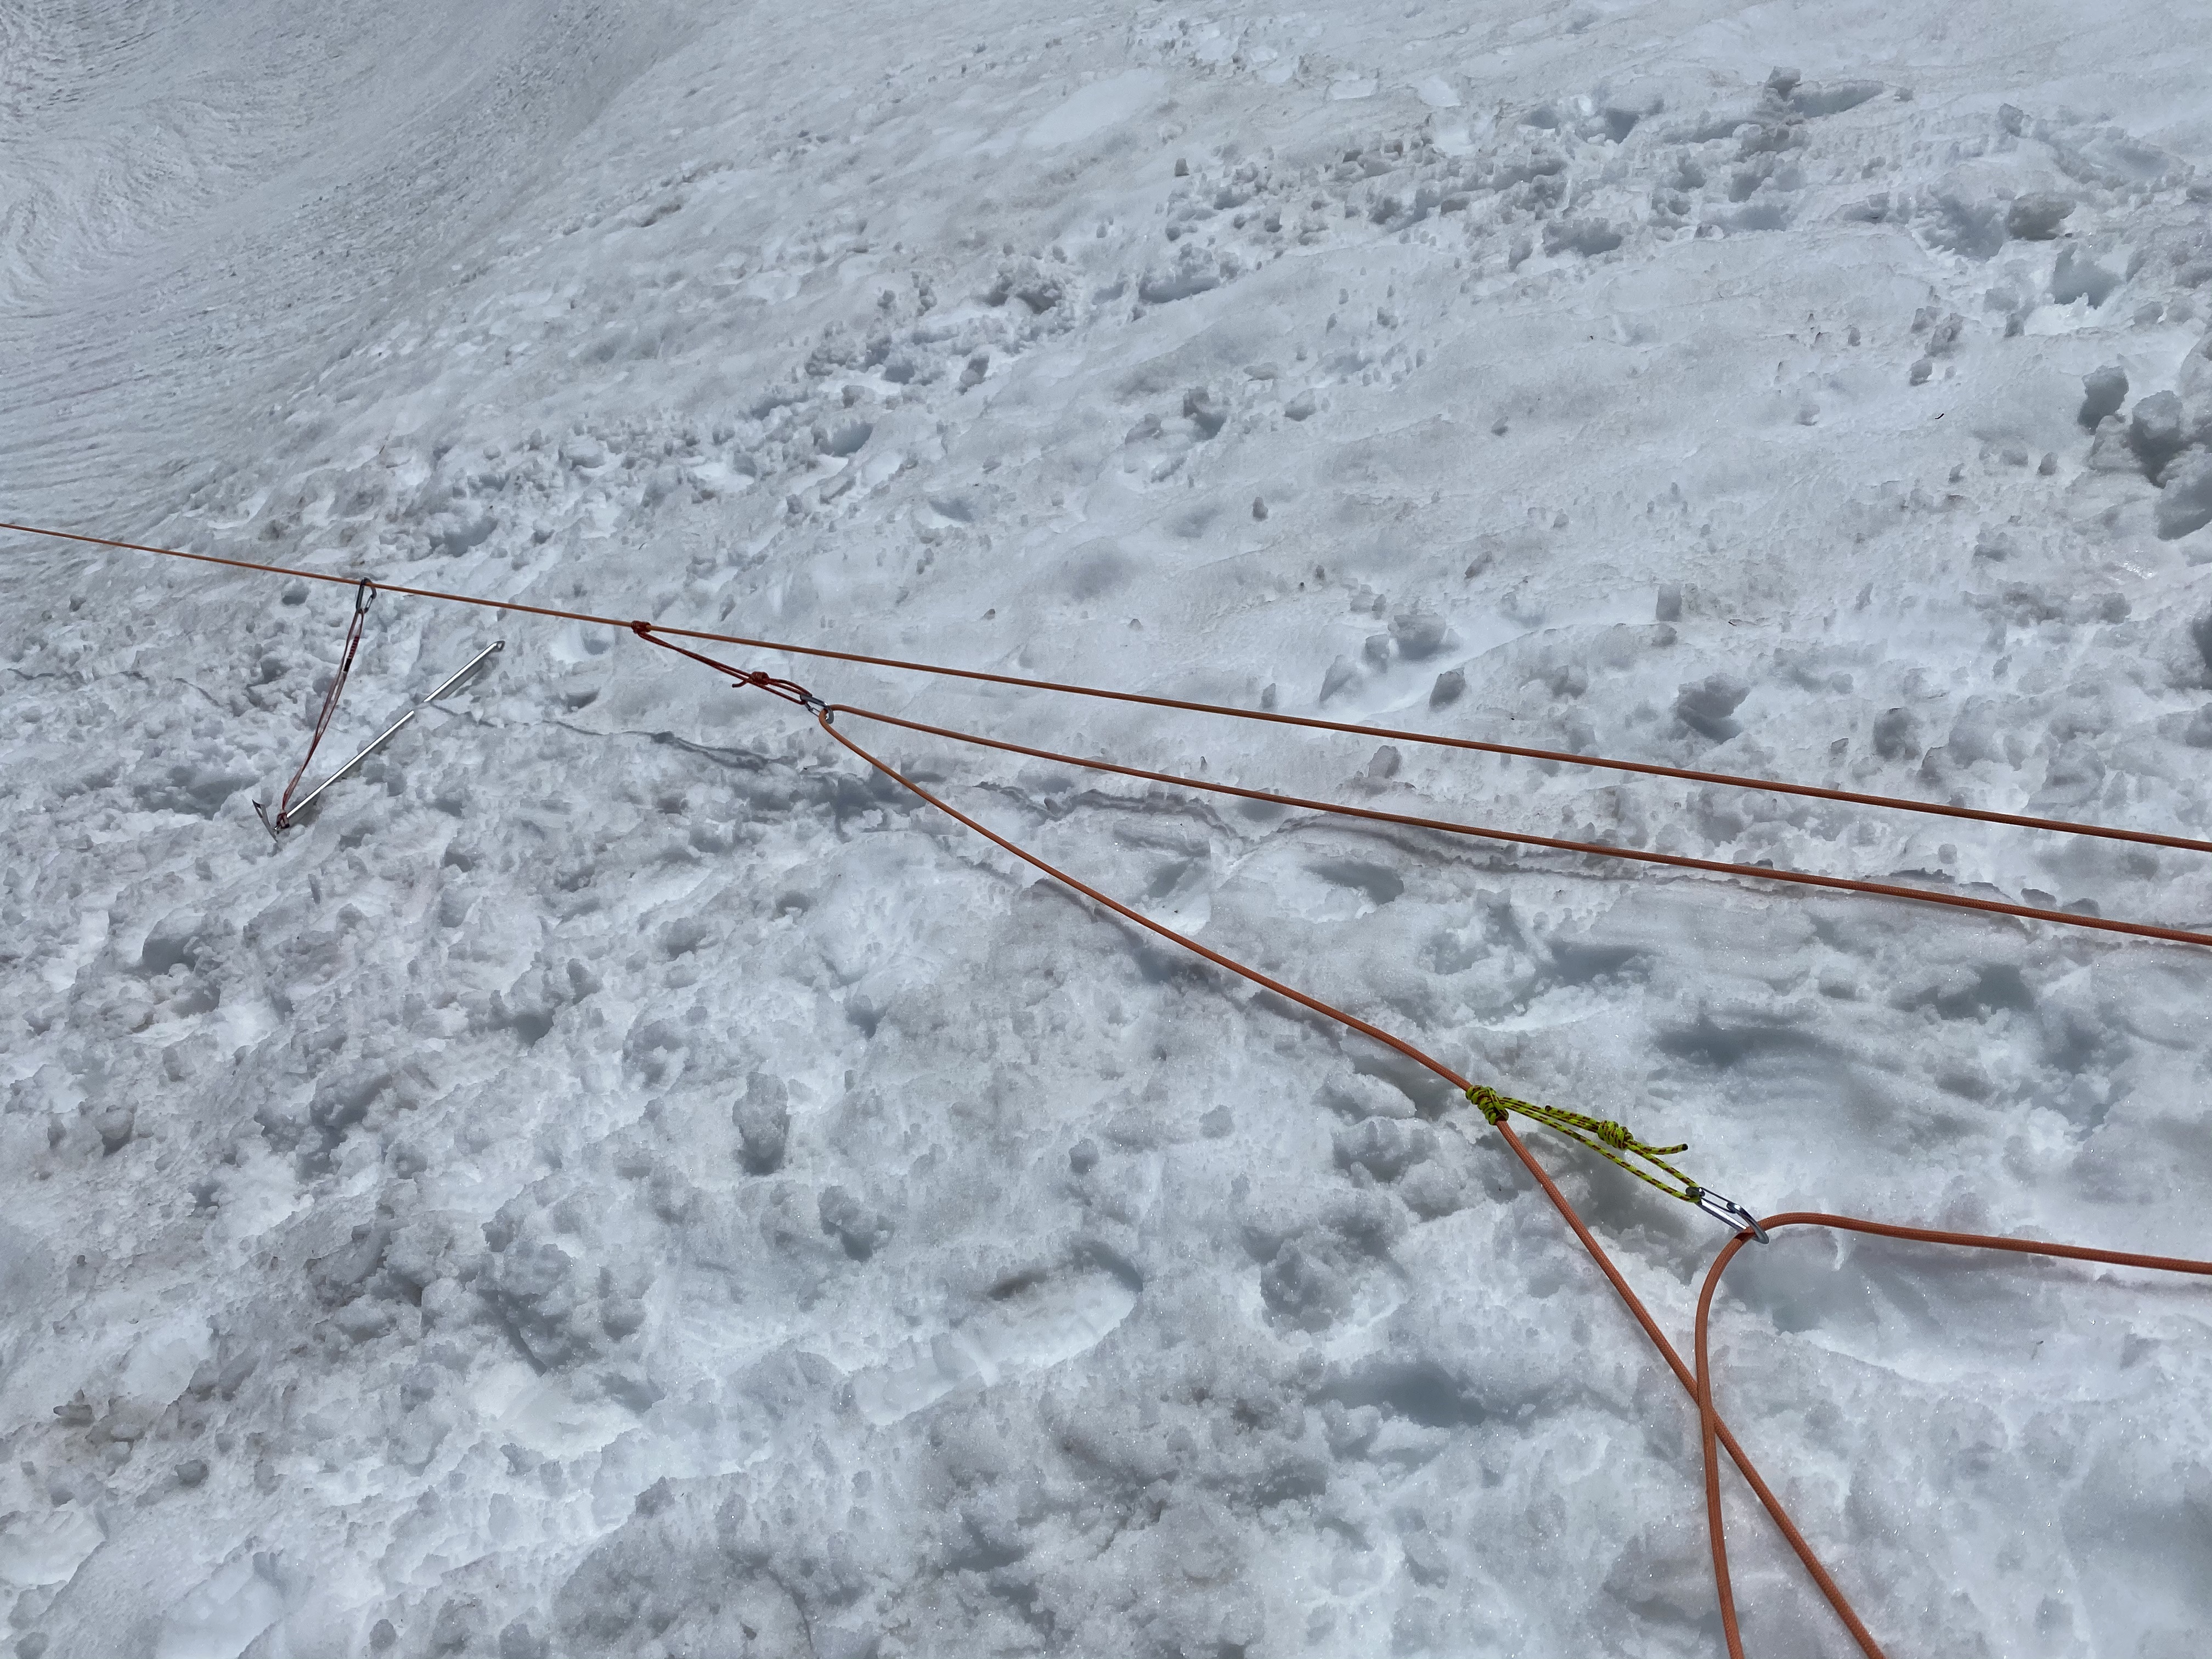
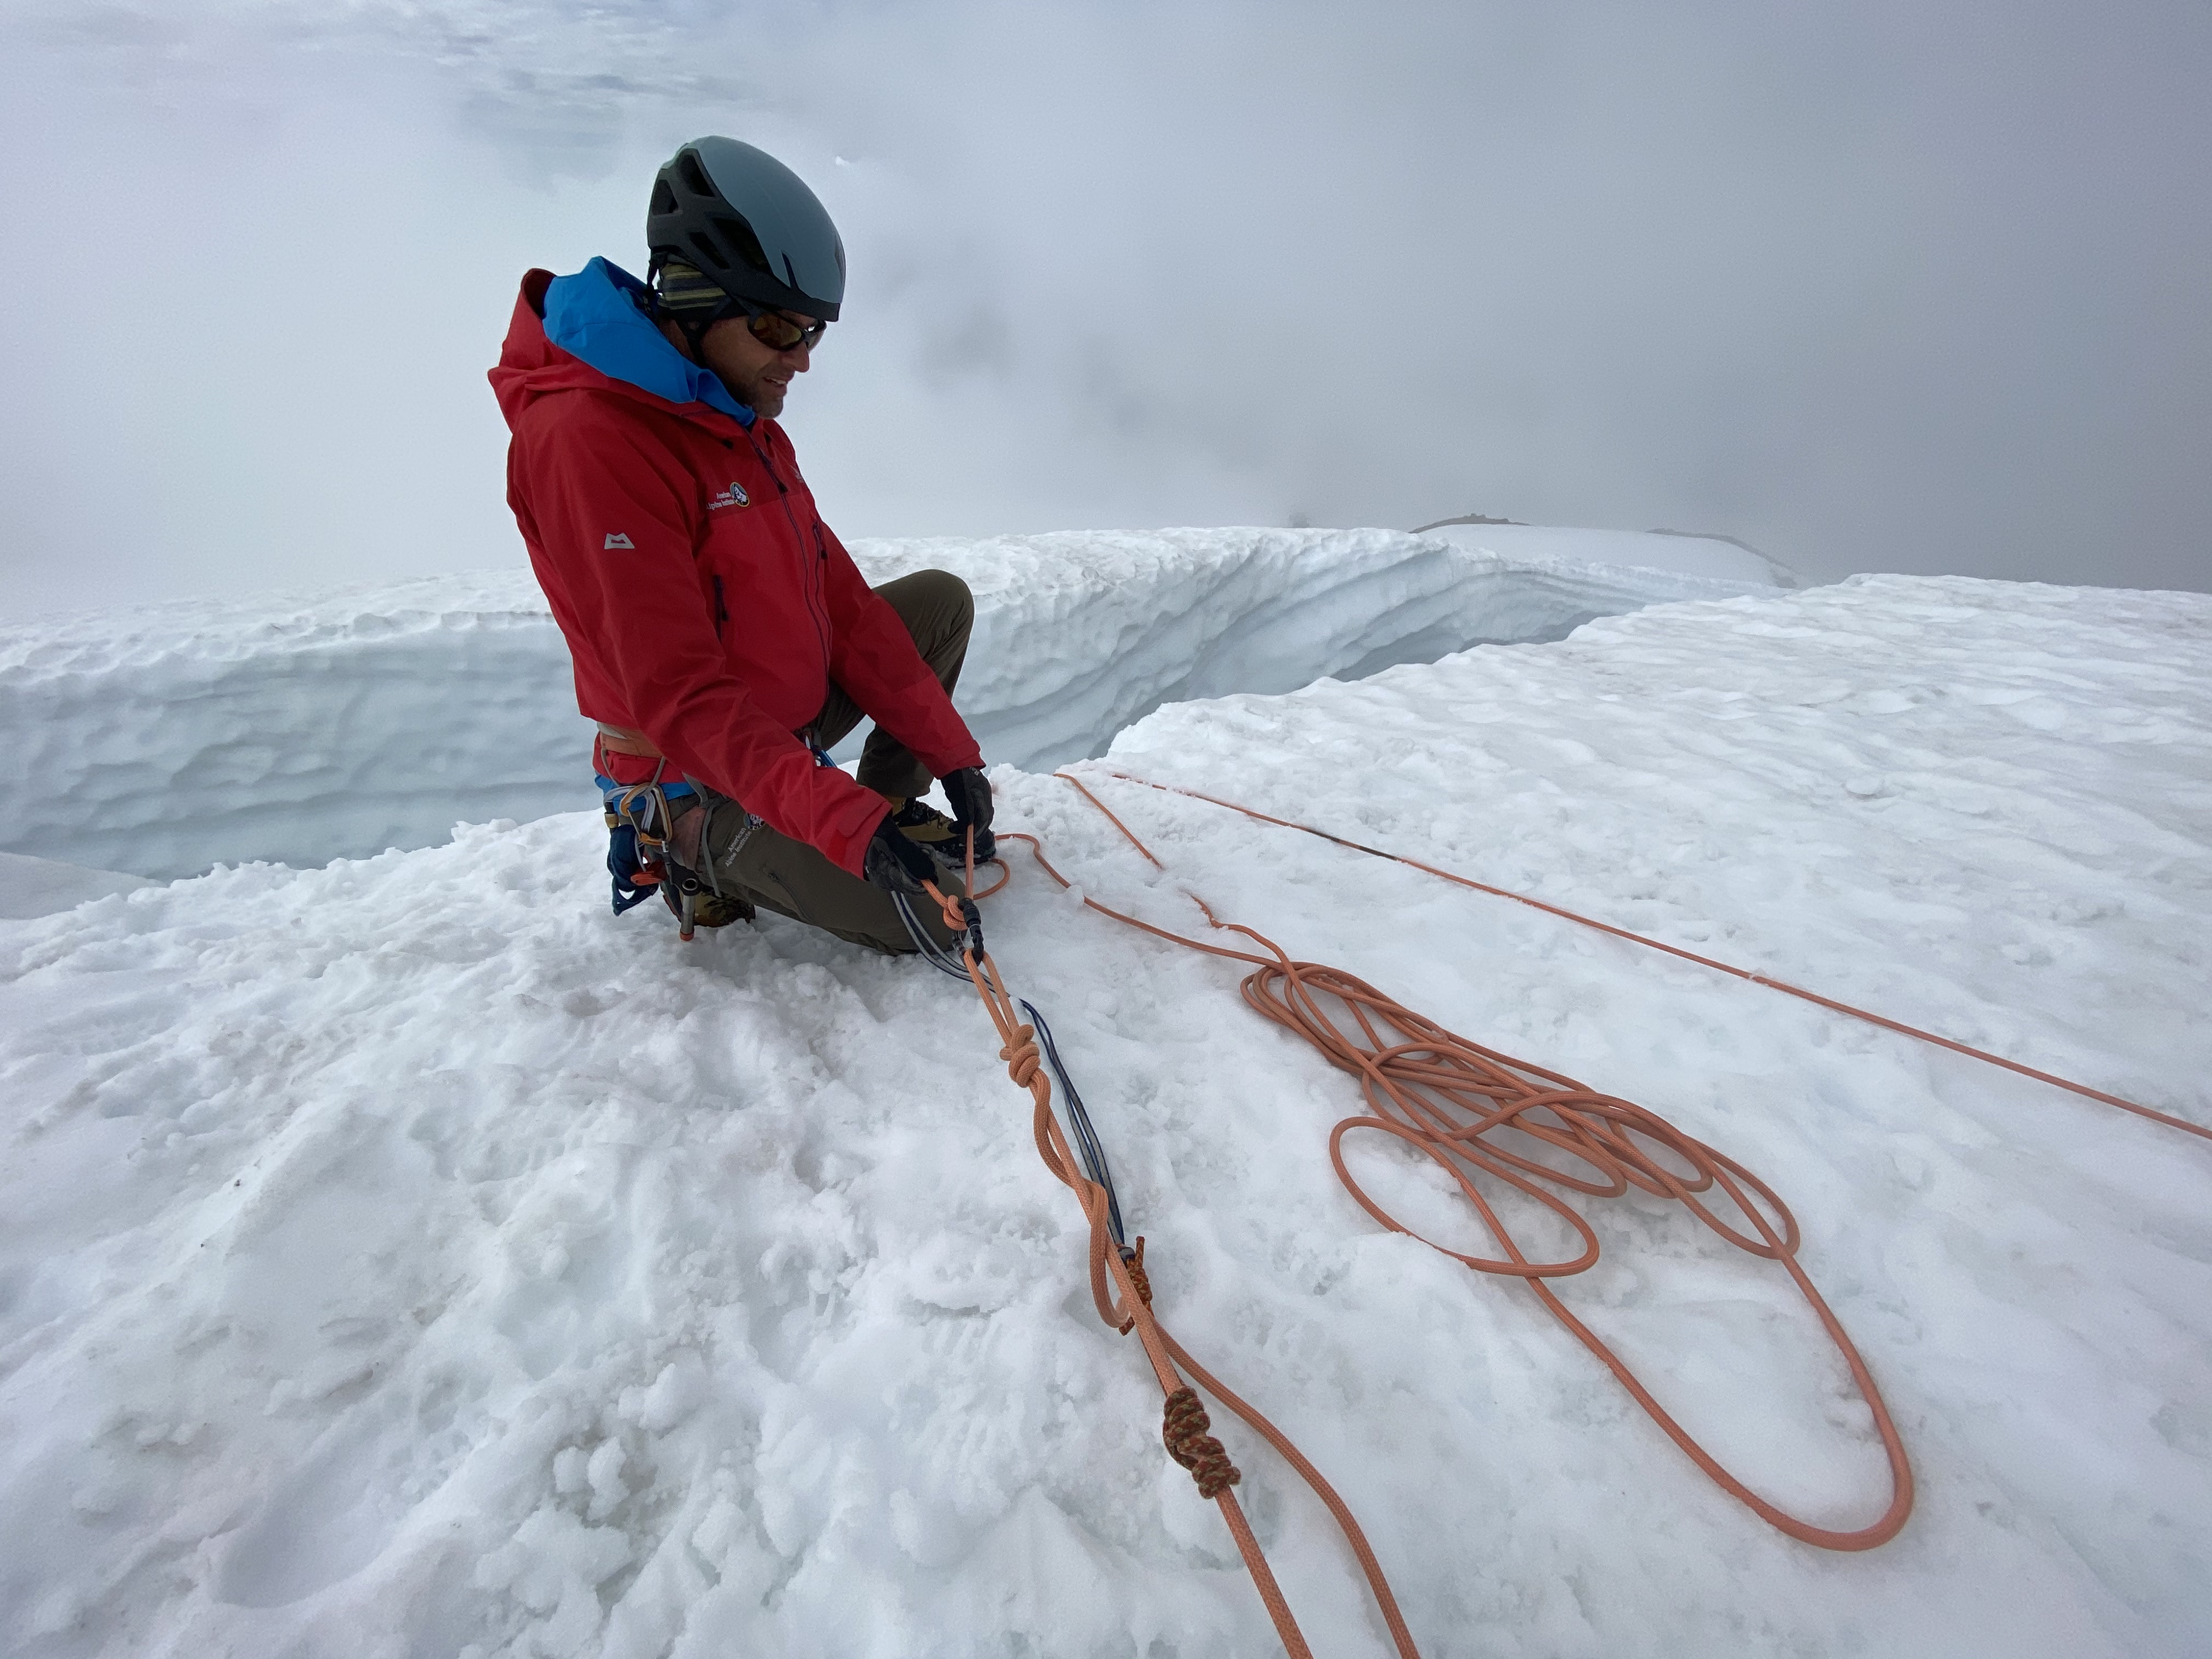
Crevasse Rescue Haul Systems
The haul system we learned was the 7:1 mechanical advantage haul system. It's important to note though, that it is very dependant on the situation what type of rescue style you would use. If time is a factor you might opt for a simpler 3:1 haul system. Or, you might even simply pull the rope without using a haul system if the person hasn't fallen down something very steep, and if you have many people available to pull. I won't explain the entire system because I believe it's important to properly practice these techniques but, you essentially start with an anchor, points of re-direction and you will need ways to capture progress. The technique we used was to use pulley devices, carabiners and prusik hitches to capture progress.
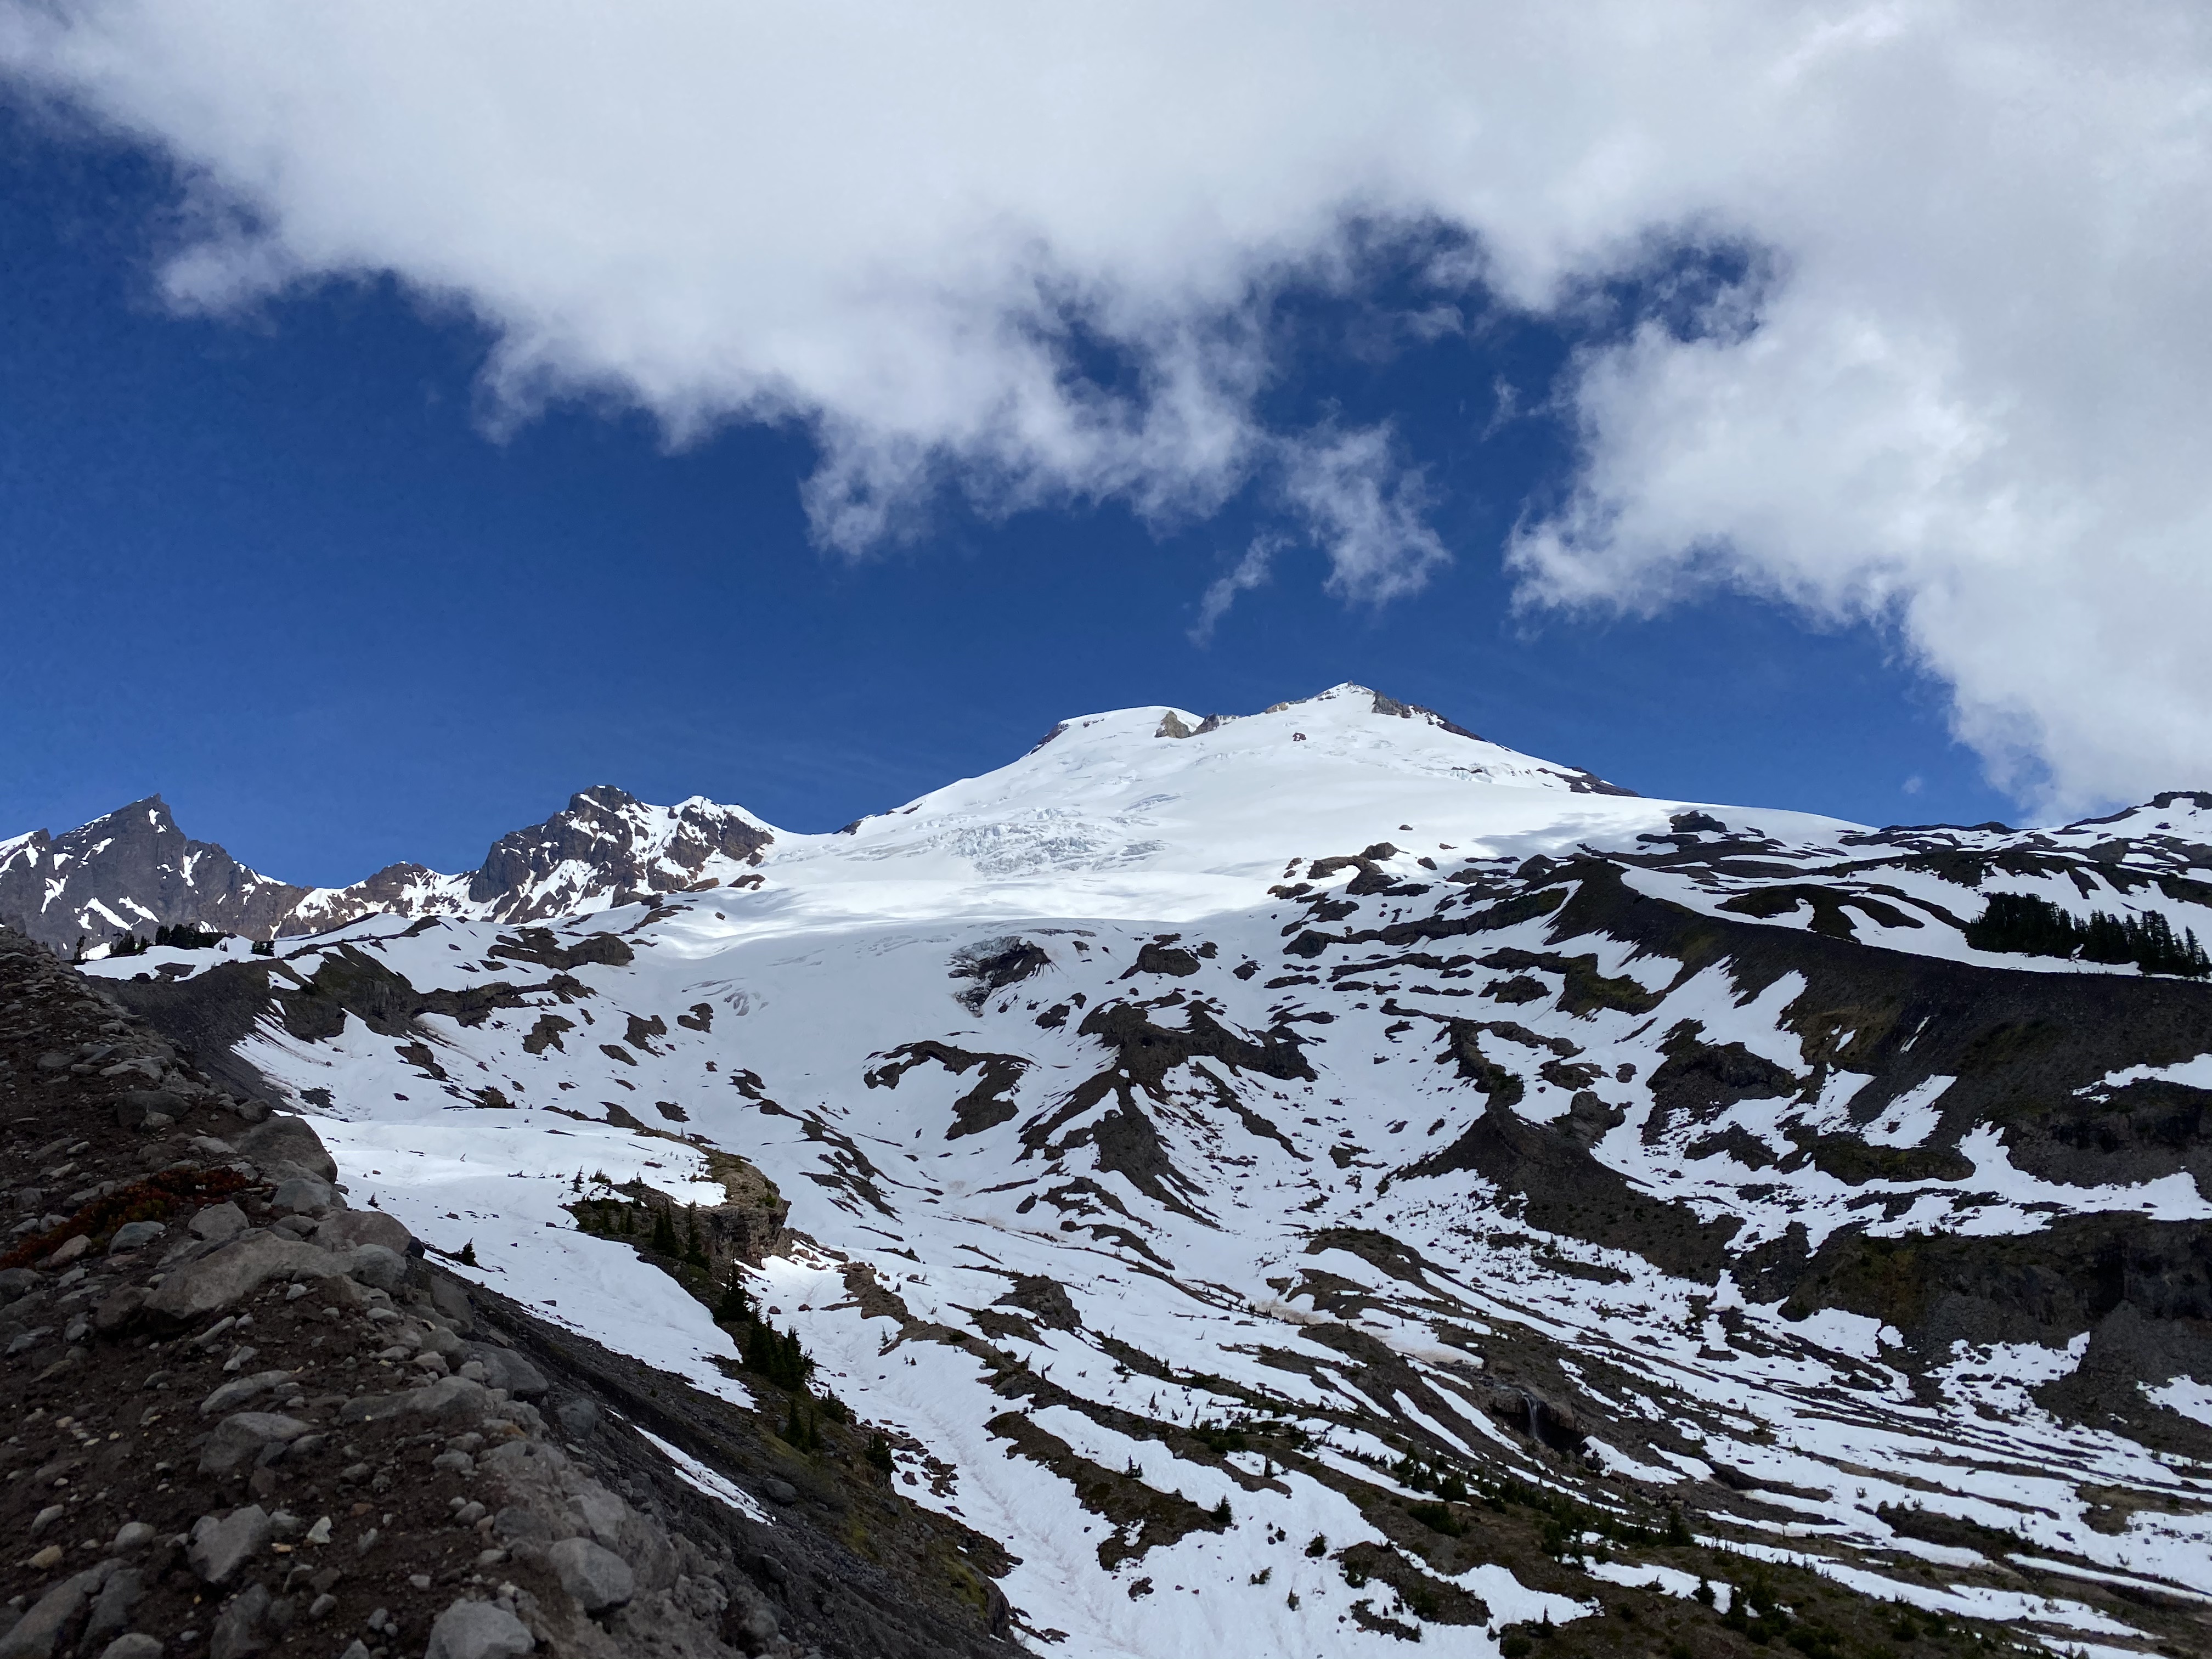
After a day full of learning, we had a perfect weather window to summit Mount Baker the following day, via the Easton glacier route.
Summit Day
I don't quite remember the time we started but, an alpine start of course. I was on a rope team of 3, Paul, Kyle and I. We made our way up the mountain pretty efficiently. The sun was rising and we had ideal weather so far.
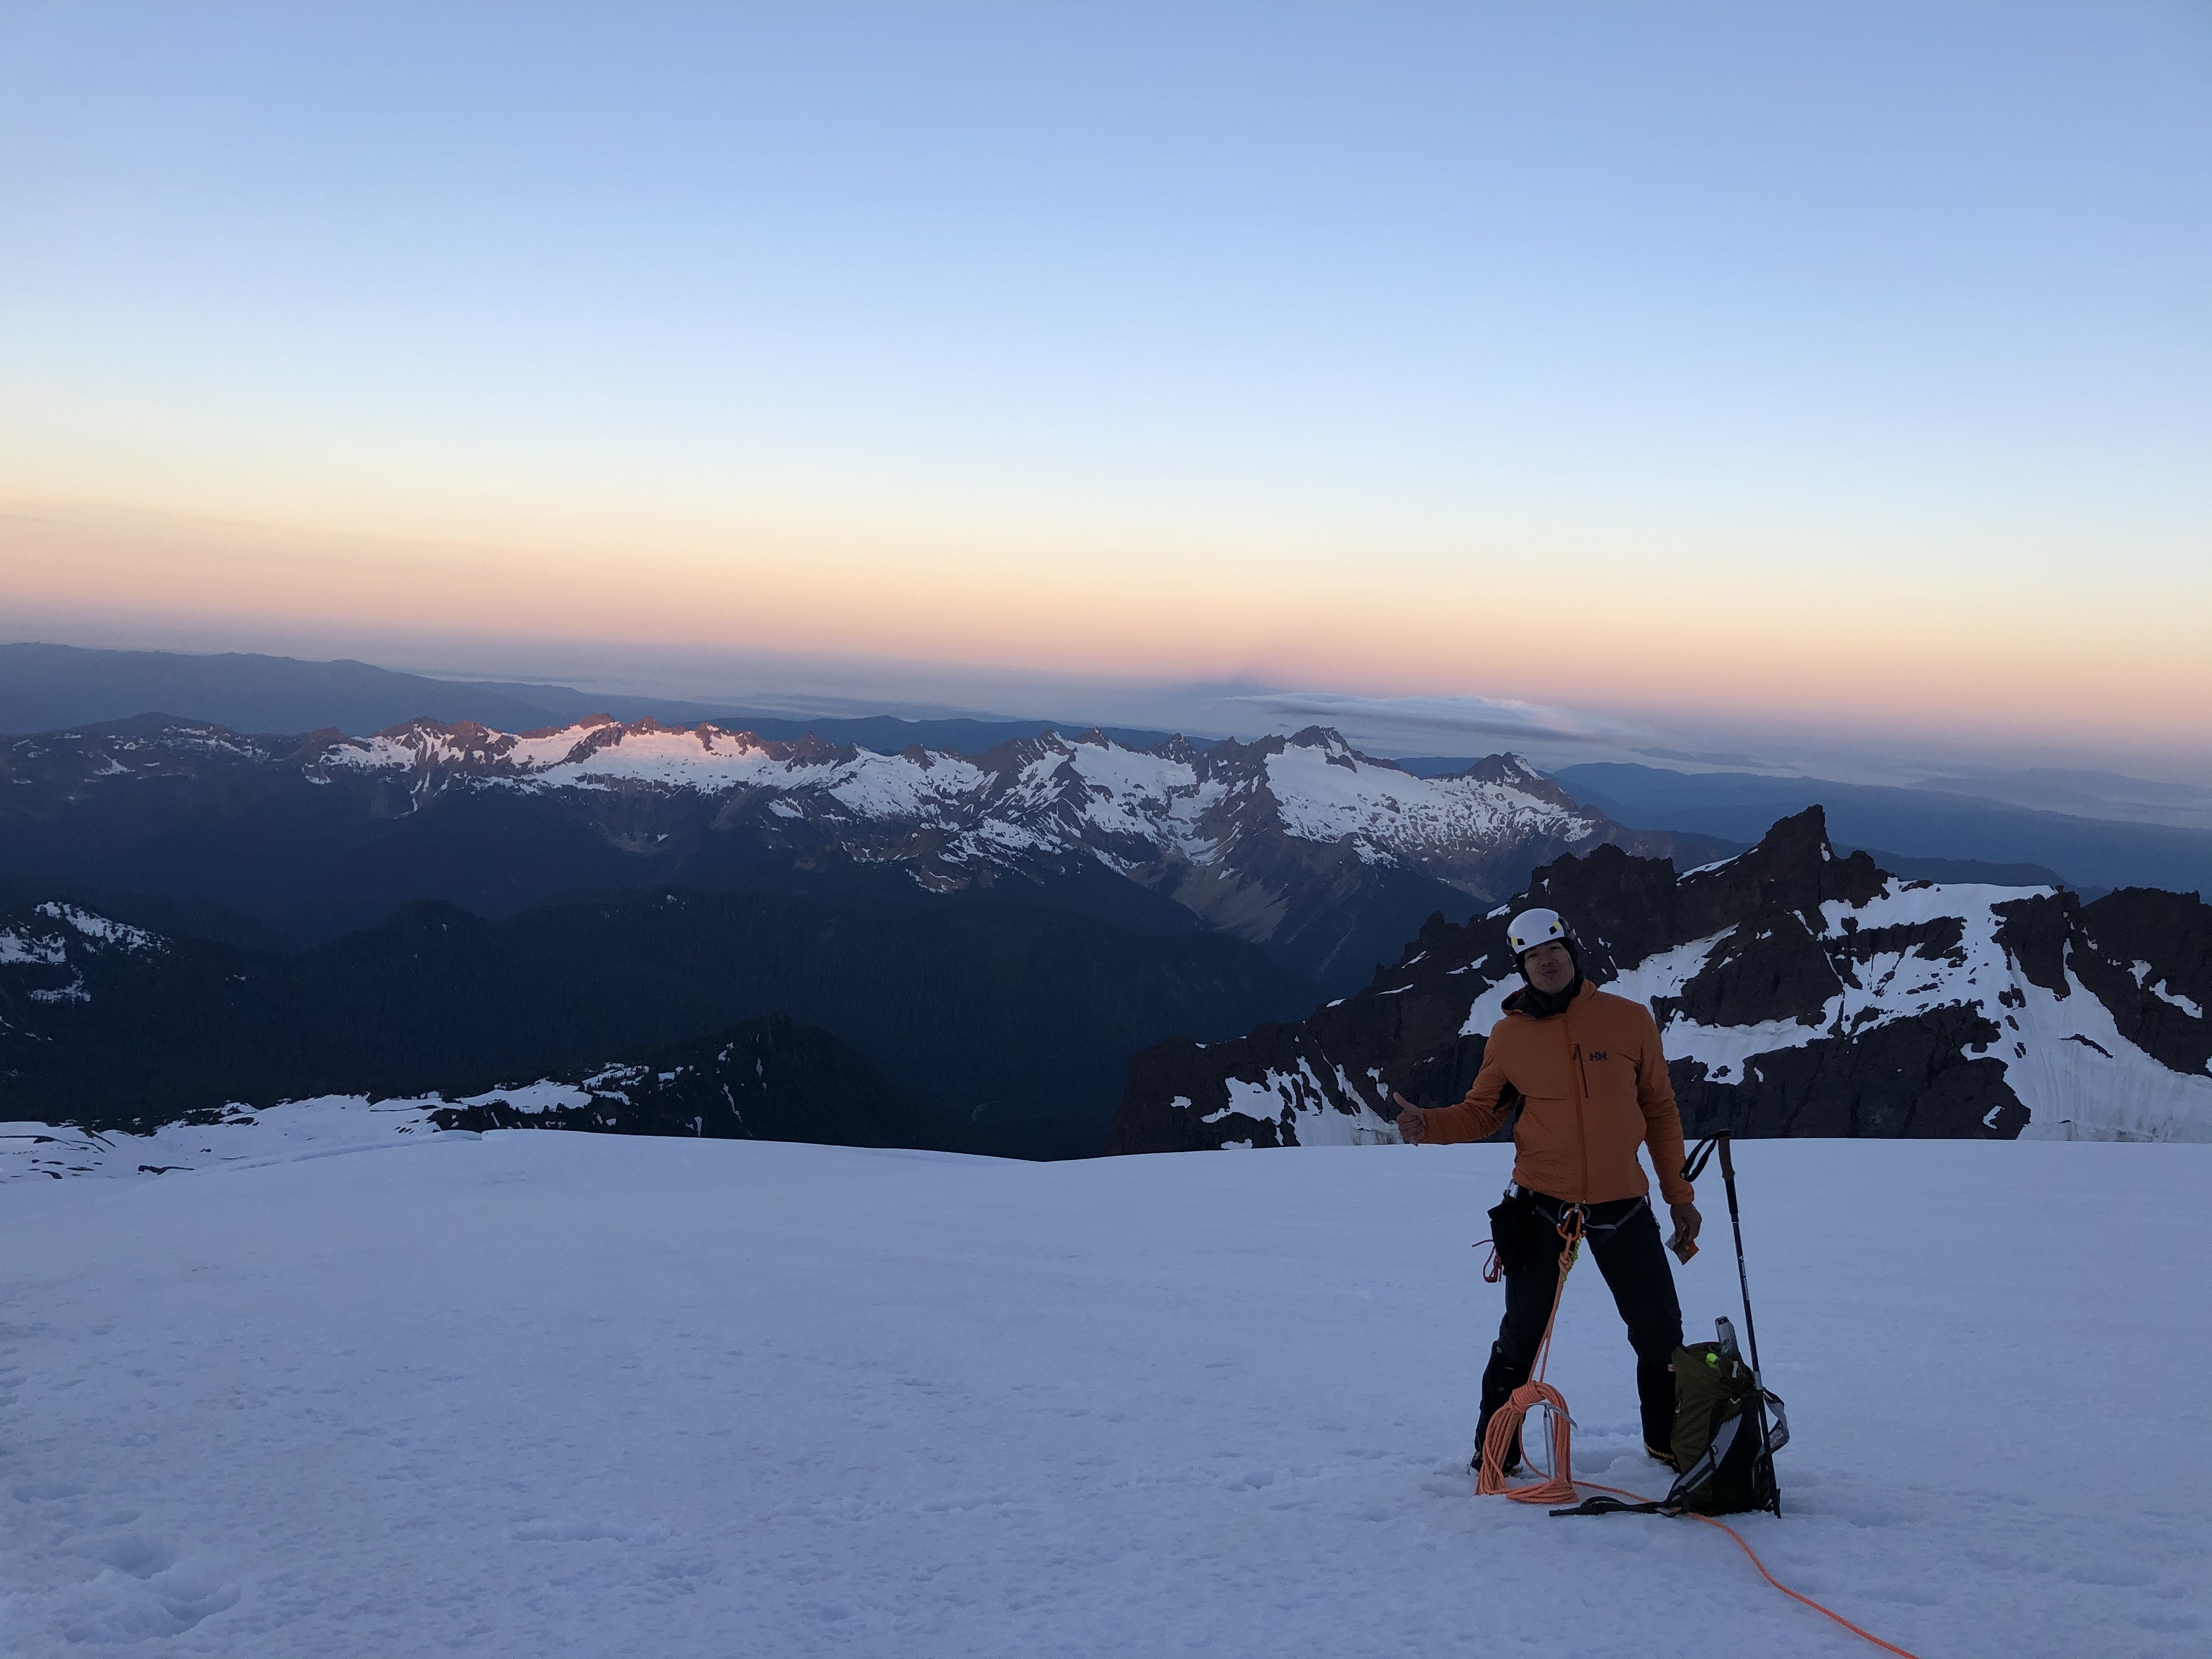
The entire climb was pretty straight forward. There were a few crevasse crossings but, nothing that was very unclear or very risky. We got up to Sherman Crater around 6:45am.
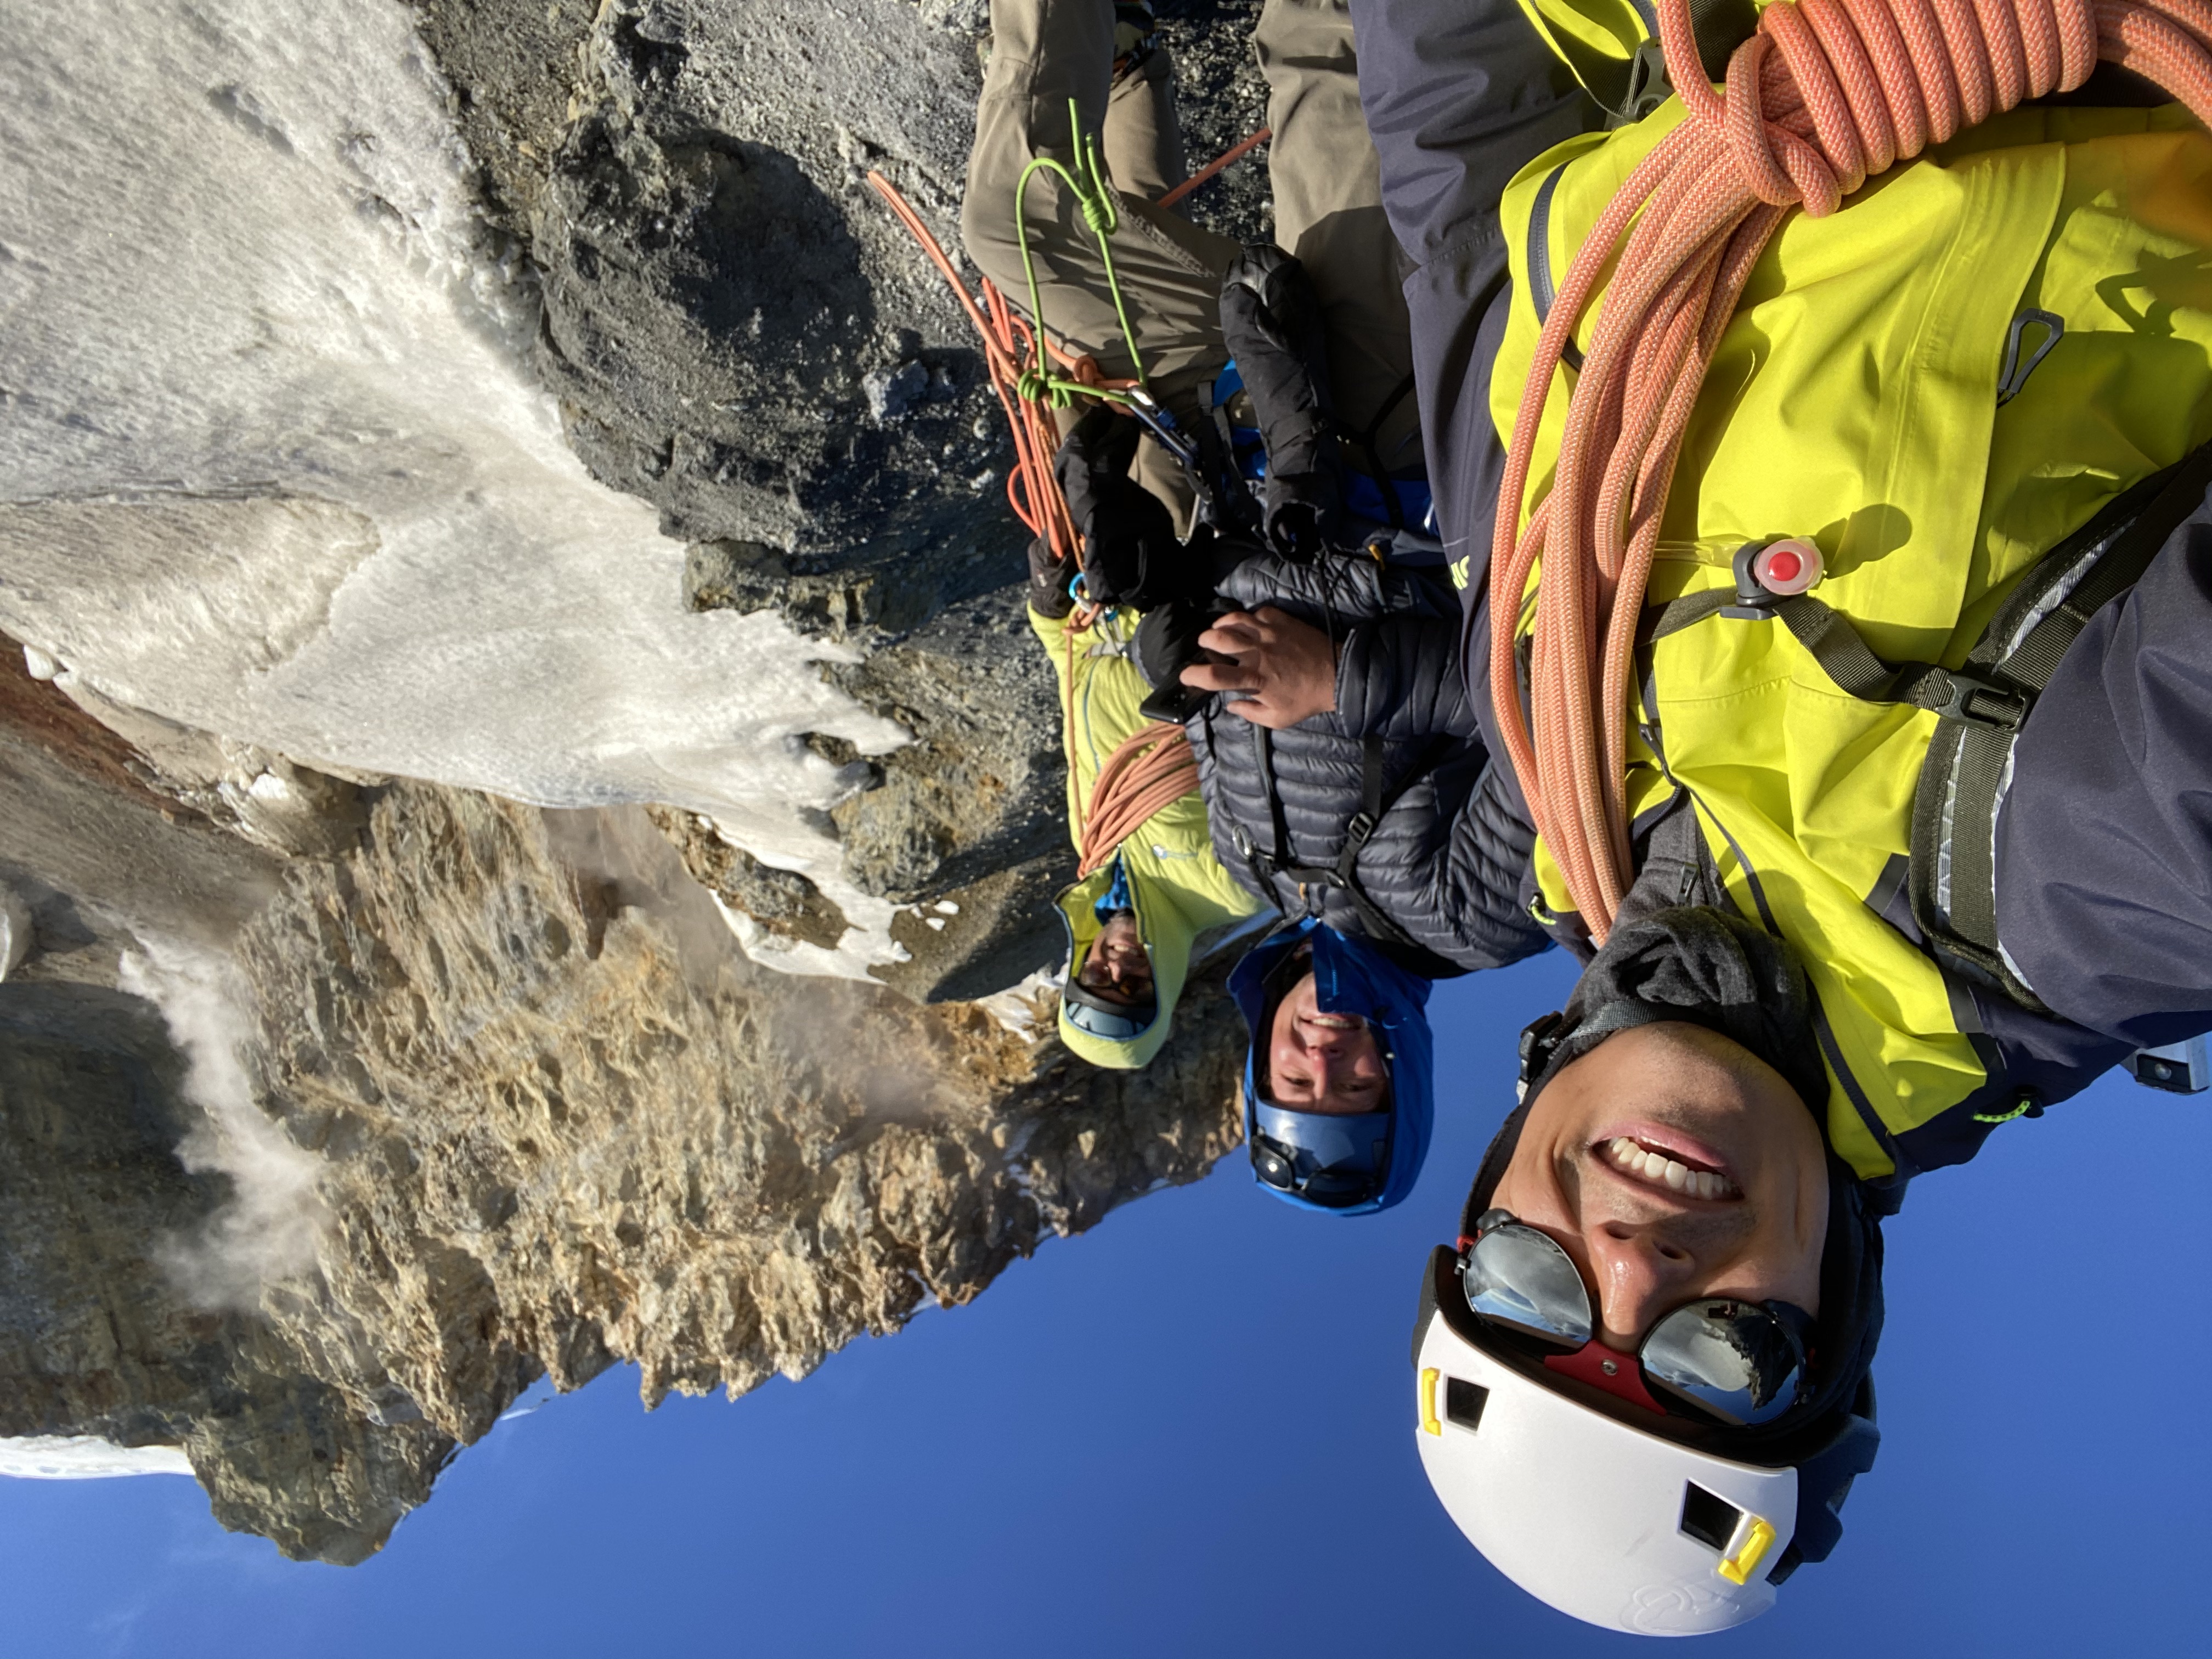
From Sherman Crater the summit is about 1,000ft of elevation away, just above the Roman Wall. We made it to the summit in about an hour from Sherman Crater.
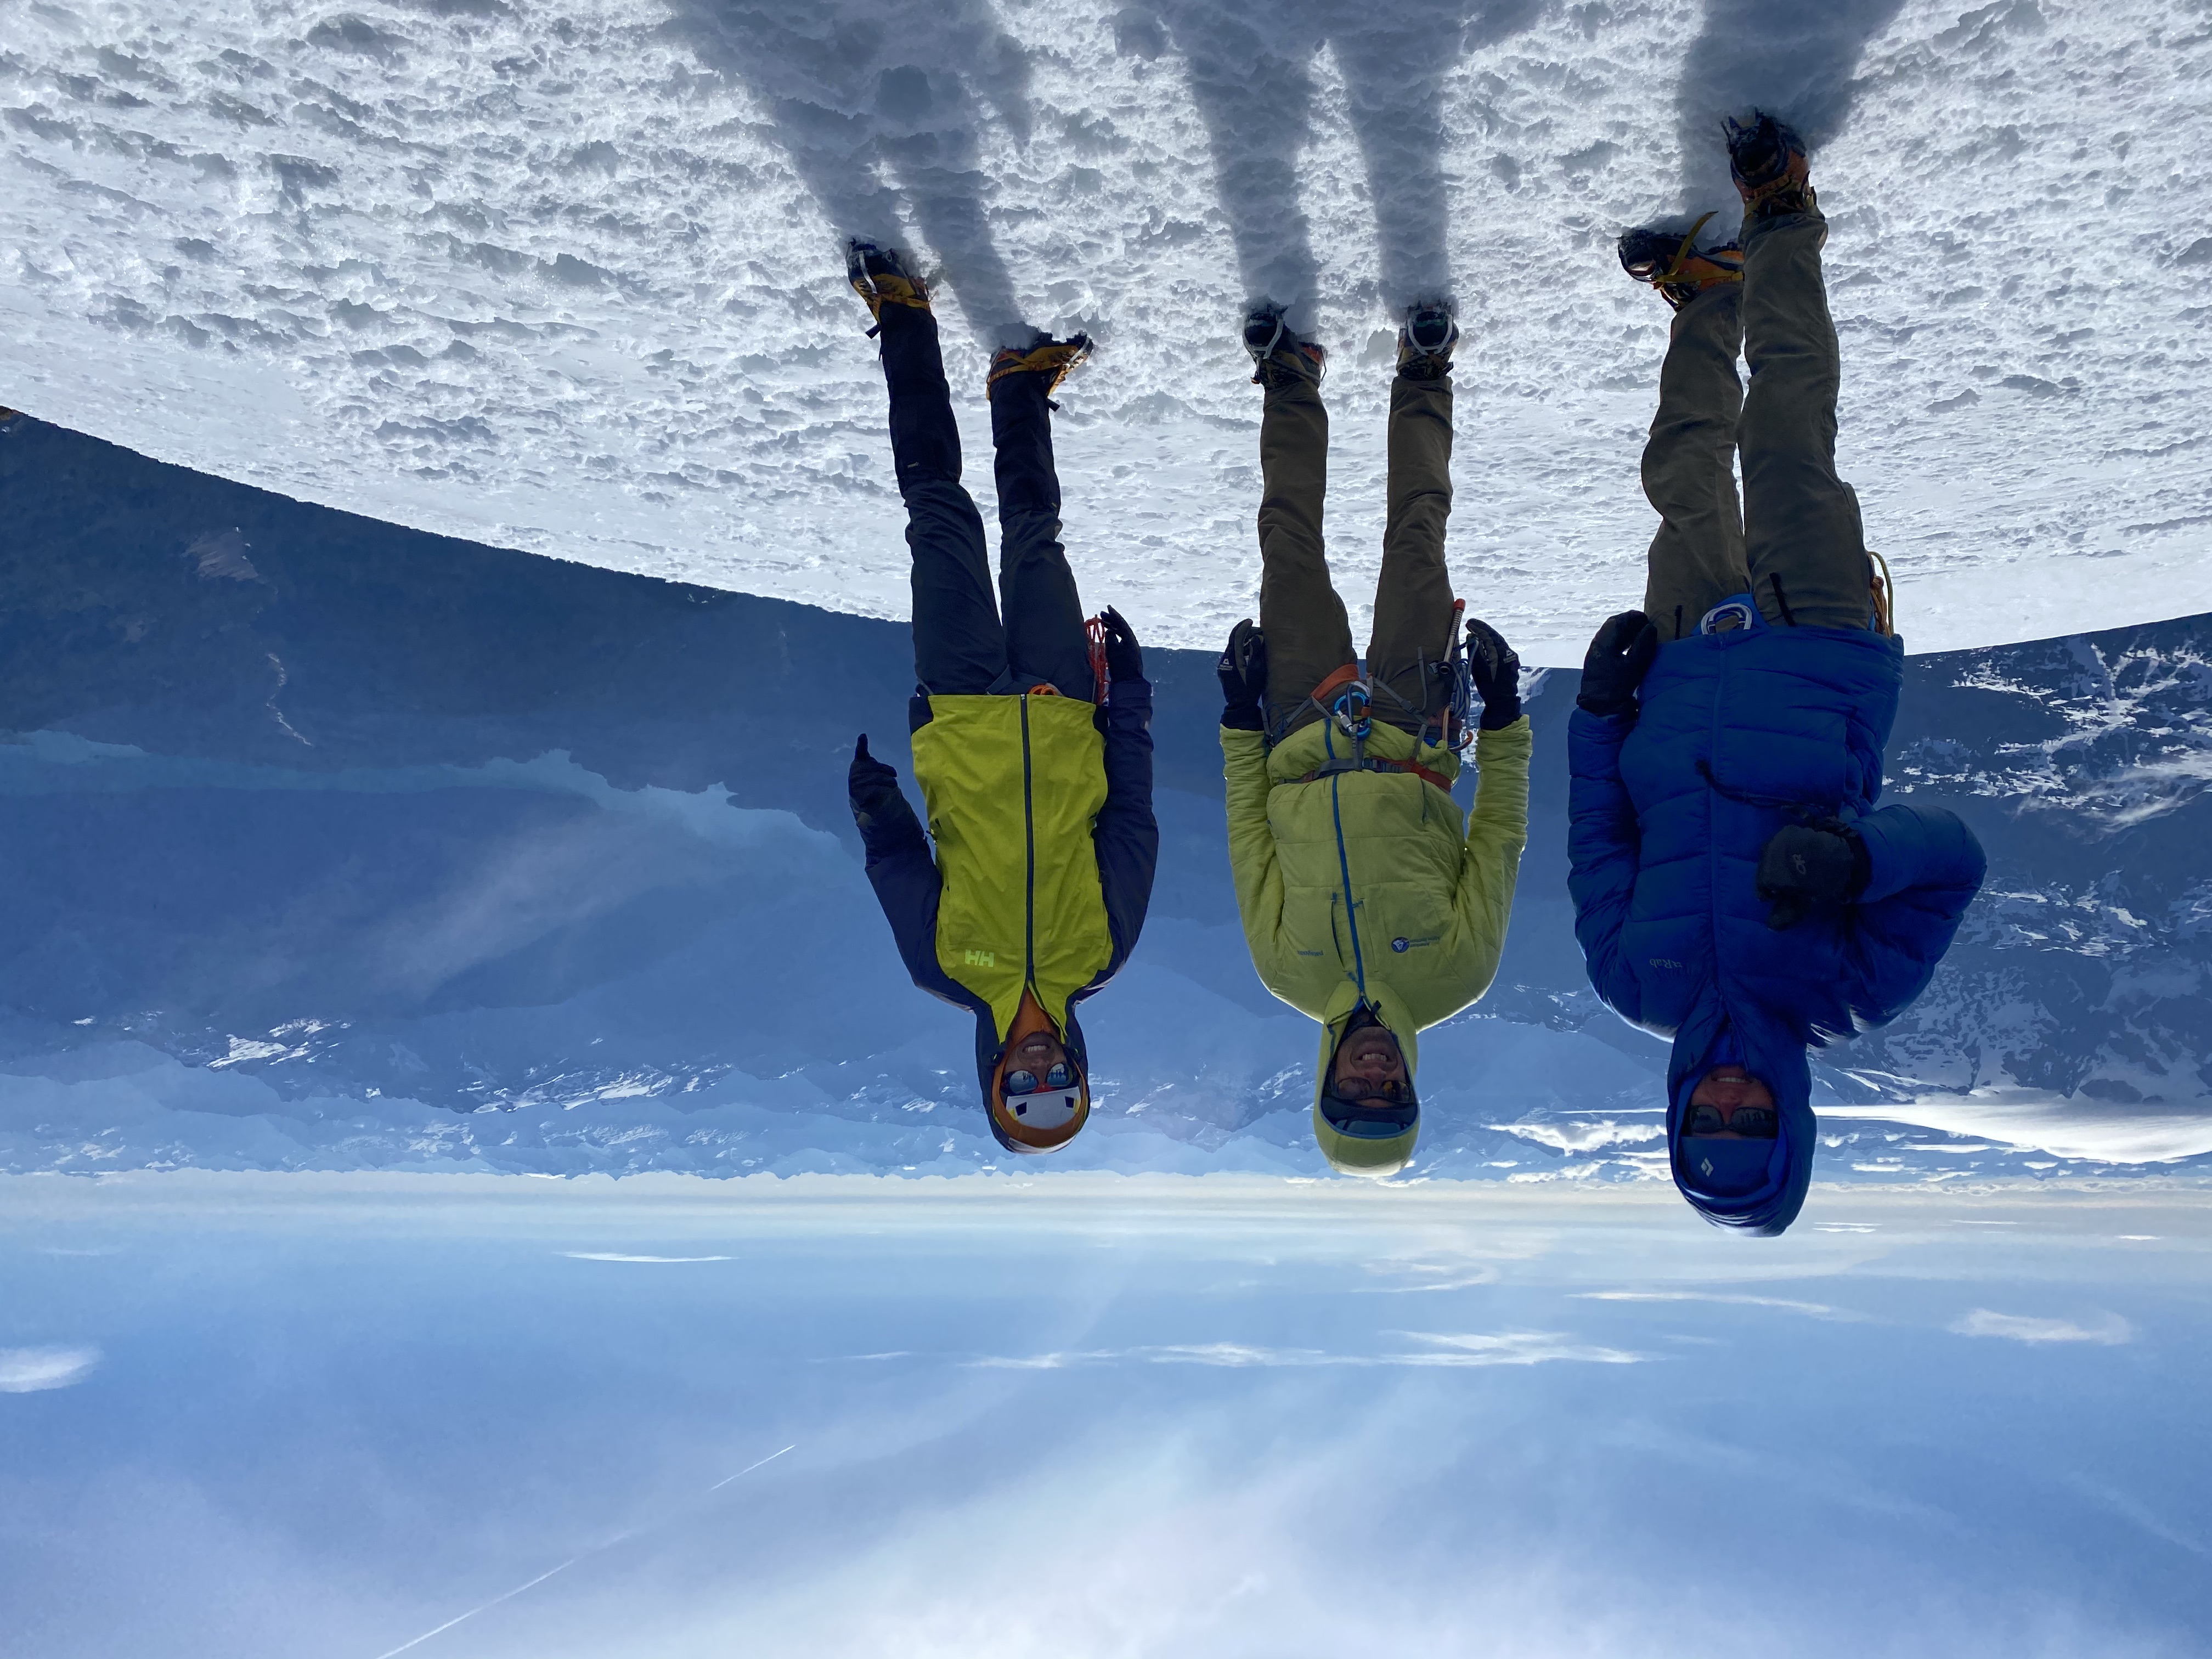
After reaching the summit we decided to make our way back down.
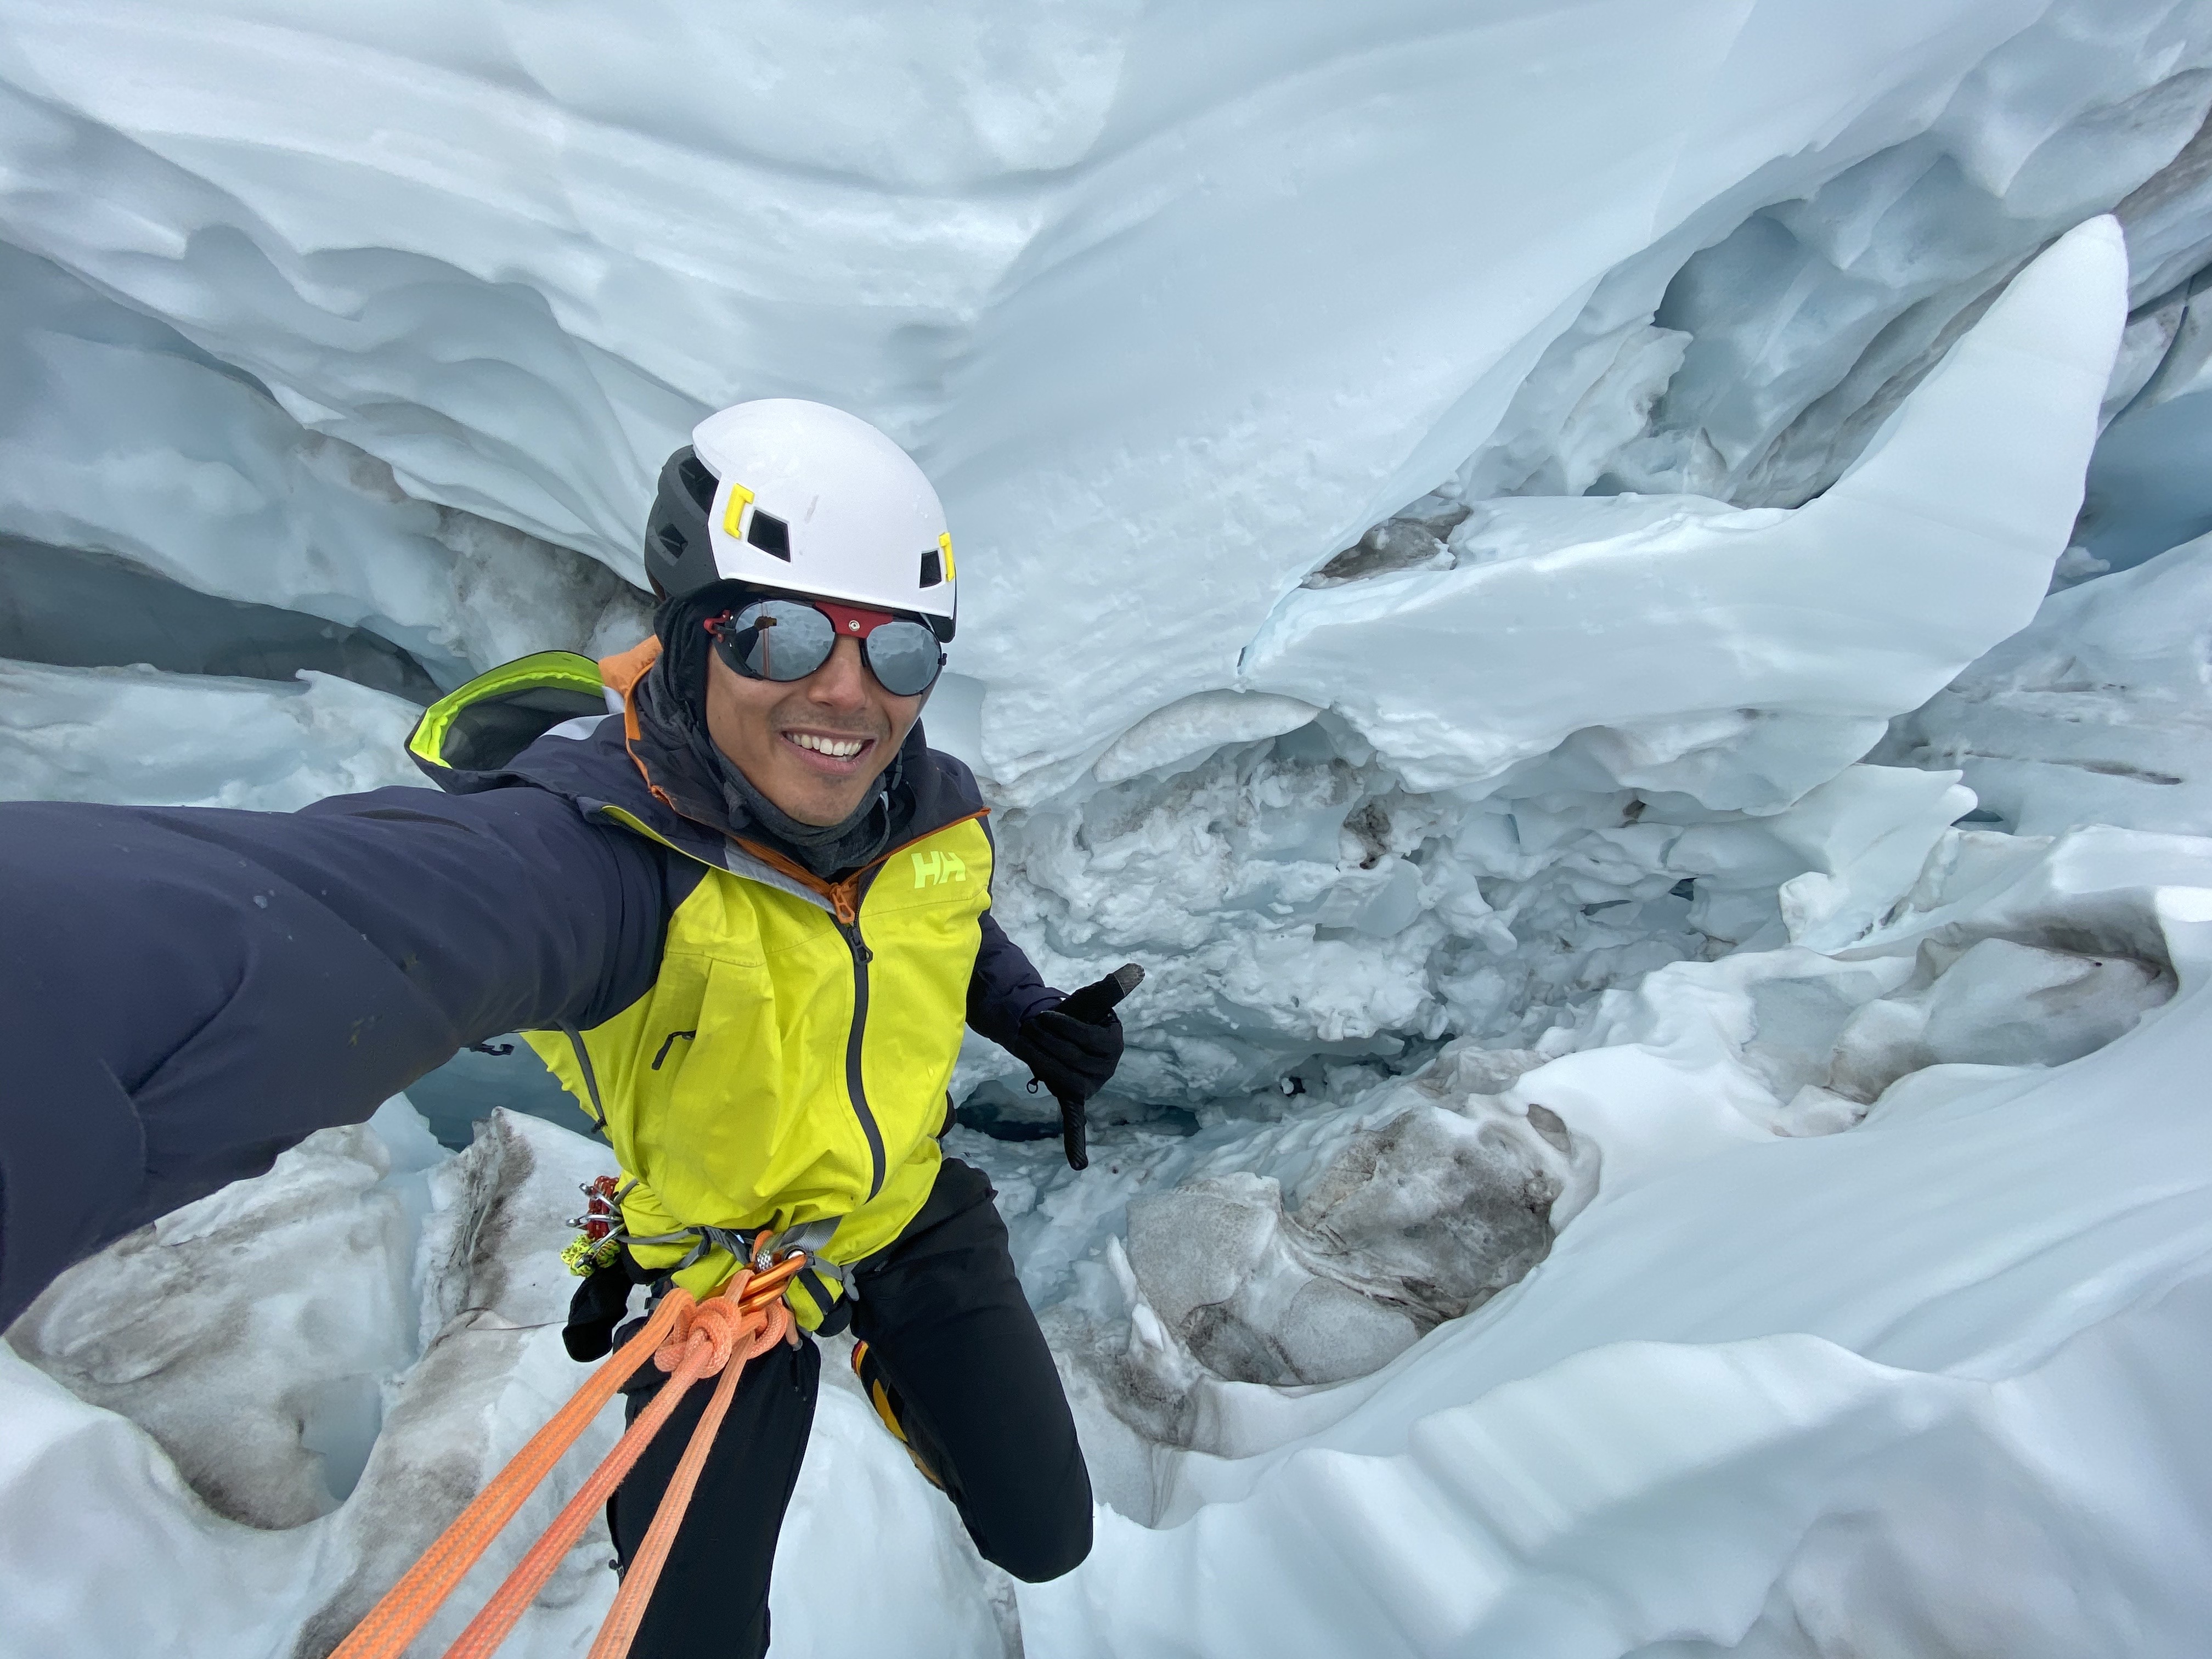
Some Fun in a Crevasse
For the afternoon we planned on doing a bit more practice with crevasse rescue and haul systems to really nail down how to build a hauling system efficiently. I really enjoyed this part, it was a bit more realistic since we had to haul a body out of an actually crevasse instead of a steep slope, like we had done the previous day. Hauling a body out of a crevasse is no joke, even with 7:1 mechanical advantage.
It was Kyles turn to rescue me from the crevasse. It was pretty exciting lowering into a crevasse this size. It must have been at least 80ft deep, as far as I could see. Of course I took a few pictures while I was in there.
After we finished this last section of crevasse rescue, we made our way back down to camp. We had planned to pack up early the next morning as there was rain coming in. We got lucky with a a great weather window while we were on the mountain.
I'm truly grateful to American Alpine Institute and Paul Ivaska for his mentorship. It was an extremely valuable experience.